The other day, I wrote about achievements and good ways of implementing them into games. One game that I mentioned there was Risk of Rain 2, so I’ve looked at how many I’m missing there and… actually not too many. Alas, I thought I might as well go for it since I actually love this game just enough to care about 100%-ing it.
Alas, let’s talk about this: Why are the achievements in Risk of Rain 2 well-made? Well, they’re tied to unlocking things in the game, so you basically get rewarded for doing them. Be it artefacts, characters, items, or abilities, the game basically awards you with an item whenever you complete something. The Warmonger achievement awards you with the War Horn when you complete three combat shrines in a single stage, for instance, while the Prismatically Aligned achievement awards you with the Harvester’s Scythe once you’ve completed a Prismatic Trial. War Horn is a nice item that buffs your attack speed whenever you use your equipment while the Harvester’s Scythe grants you 5% crit chance (once, doesn’t stack) and also heals you whenever you crit. Both of these are great items to round up your builds and help you out and they synergise really well with other items.
The problem here is obviously that the Warmonger achievement requires there to be there combat shrines on a single stage, which isn’t always a given. Similarly, the Prismatically Aligned achievement requires you to finish a Prismatic Trial, which is a seeded run with all kinds of modifiers that you’ll have to complete… Based on when you do it, it can be easier to acquire or harder to do. Alas, I just played the game a lot and went for it whenever I could.
But I already had those achievements and I had most of the other achievements as well… The only ones missing are the ones for the last few artefacts as well as a few character unlocks.
Alas, today, I attempted to beat the game on Monsoon difficulty as the Commando to receive the Commando: Mastery achievement that unlocks a skin. Since I don’t really play the Commando and since I only unlocked the Tactical Slide, so far, I also tried to finish off an Overloading Magmaworm while also surviving 20 stages without any Lunar items. This sounds easy but in the end, I died rather often while trying since I’m rather rusty when it comes to the Commando. I would slide into a Void Reaver’s explosion and die… or overestimate myself and die from fall damage paired with enemy projectiles… oh, and fire is still super annoying! Overall, I can sum up that attempting everything at the same time is silly.
Alas, I decided to just do two of these achievements at the same time and then go for the skin once I’ve unlocked the abilities.
Btw, Commando: Godspeed requires you to fully charge the first-stage teleporter before the timer hits 5 minutes, which is rather easy when you do it on Drizzle, speedrun to the teleporter and just hit it, beat the boss, and survive for long enough. No items needed… just a lot of dodging. The Tactical Slide is just better than the Tactical Roll as you can shoot while doing it (hence not lowering your DPS) and as you can use it mid-air to give you another boost, alas, granting you a pseudo-double-jump.
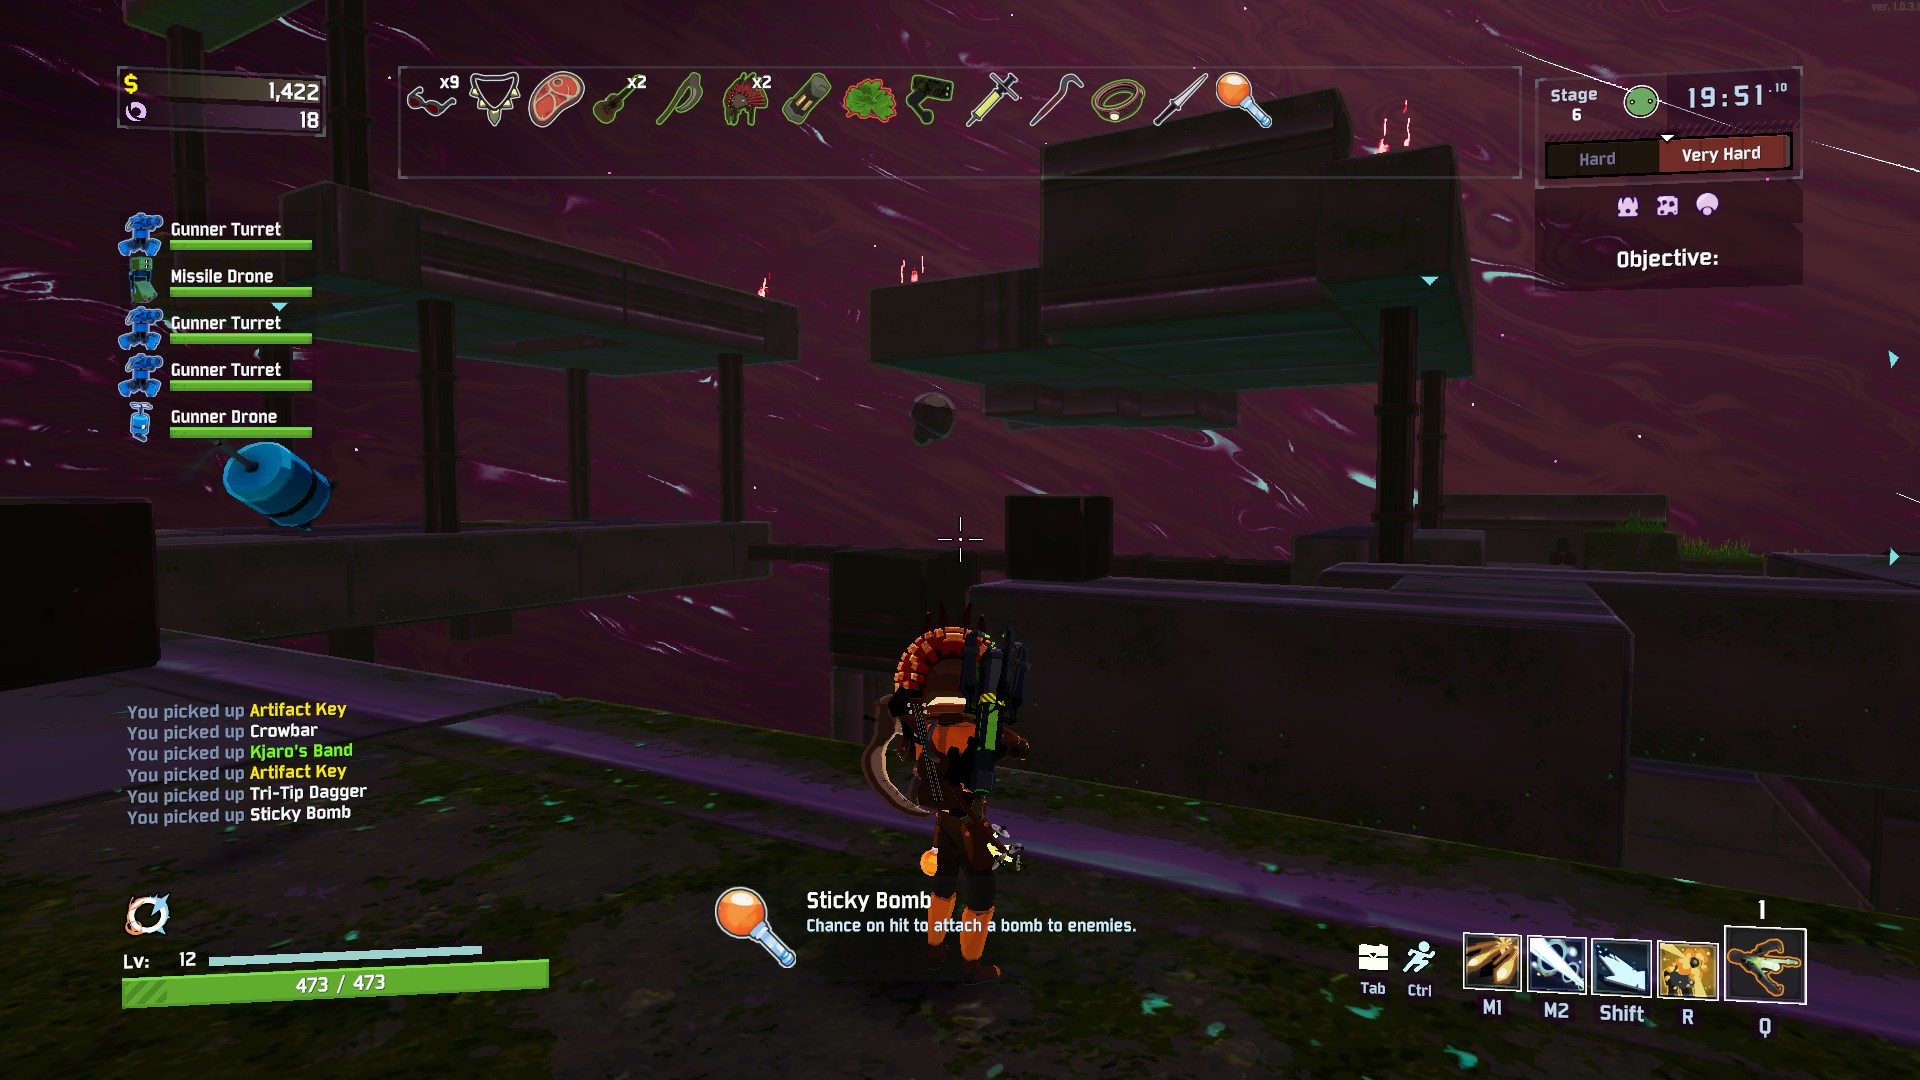
Alas, I started up a run on Drizzle, the easiest difficulty, with Commando in Singleplayer. The artefacts I selected were Command (to chose my own items) and Sacrifice (to not bother with chests or grinding gold). Instead of grinding enemies, I just went to the teleporter and started charging it. Due to an early red item, I ended up opting in for an on-hit-build utilizing the 57-Leaf-Clover to its fullest. I stacked Crit Chance and On-Hit-items that would basically always proc thanks to that the aforementioned item. By ignoring everything and just pushing through the stages, I got a bunch of items during the teleporter event and was able to avoid any waste of time. I then basically rolled through the first few stages, went for the guaranteed red items in the fourth stage (Abyssal Depths, Siren’s Call, and Sundered Grove) whenever I landed there, and then I beat the Sky Meadow boss before going for the Artefact Portal.
Sky Meadow counts as Stage 5 but if you go for the Artefact Portal, you basically get to the Hidden Realm, Bulwark’s Ambry, where you unlock Artefacts. That’s stage 7. After that, you’ll be at the first stage again for the first loop, meaning that that’s stage 8. Alas, there were only 12 more to go. During Stage 7, I unlocked the Artefact of Dissonance that basically enables monsters to spawn outside of their usual environments. The trial of dissonance itself, at this stage, was no biggie since I had way too much attack speed and way too much damage anyways. Alas, I dealt with it quickly and unlocked the artefact and the achievement associated with it.
During the next few stages, I basically just rushed through, not giving a damn about any items or turrets. At times, I’d wait near my turrets and drones to let them get taken out by enemies. This was really important as the next artefact we were going to unlock was the Artefact of Chaos, which basically enables friendly fire. My turrets could have killed me during that if they hadn’t died beforehand. Alas, we completed our first loop and were back at Sky Meadow at Stage 13 where we immediately headed to the Portal, entering the code for Chaos, and rushed through the Trial of Chaos. This was rather easy as well since we didn’t have any allies that would be affected by it anyways. The only issue we had was the fact that I took the Brilliant Behemoth, which makes my attacks explode on impact… and well,… the explosion can hurt you while Chaos is turned on. Alas, I had to be careful about that but before long, I was already done with it. Alas, we unlocked Chaos and rushed through the next five stages.
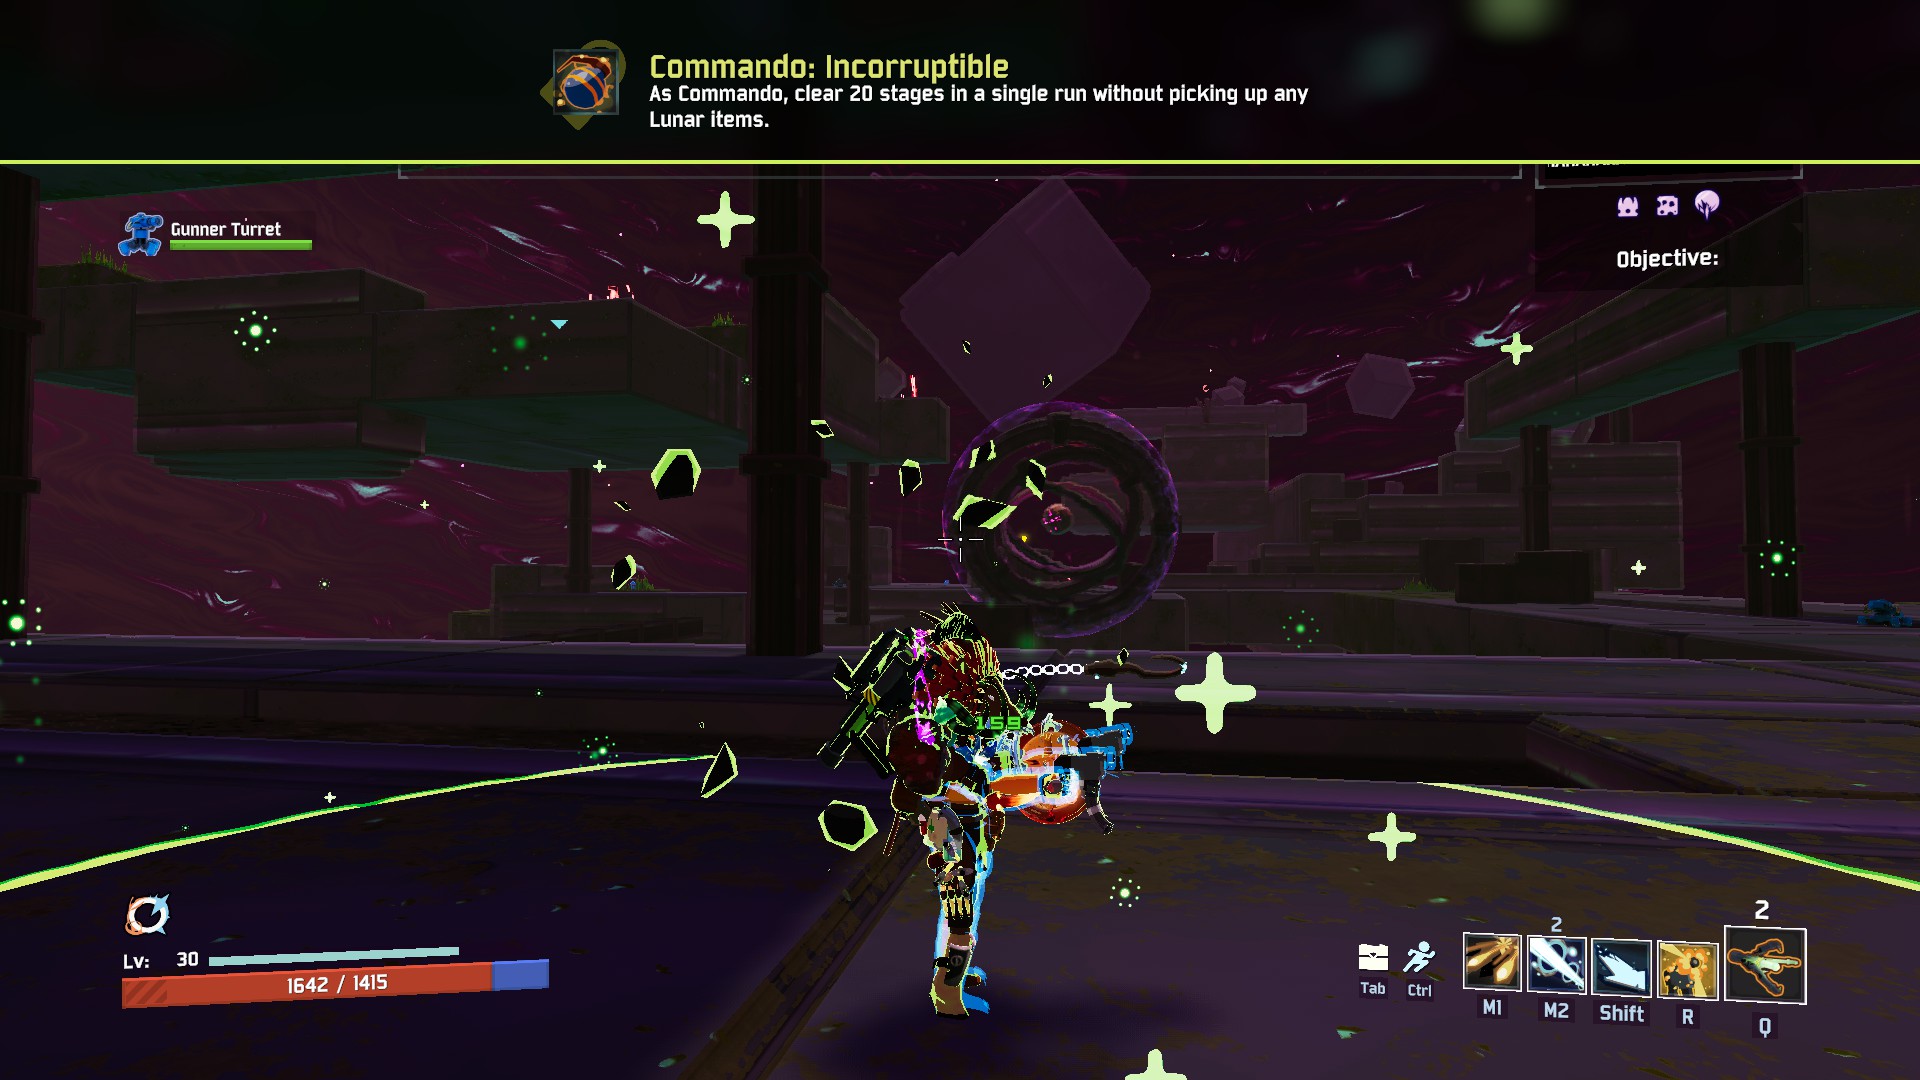
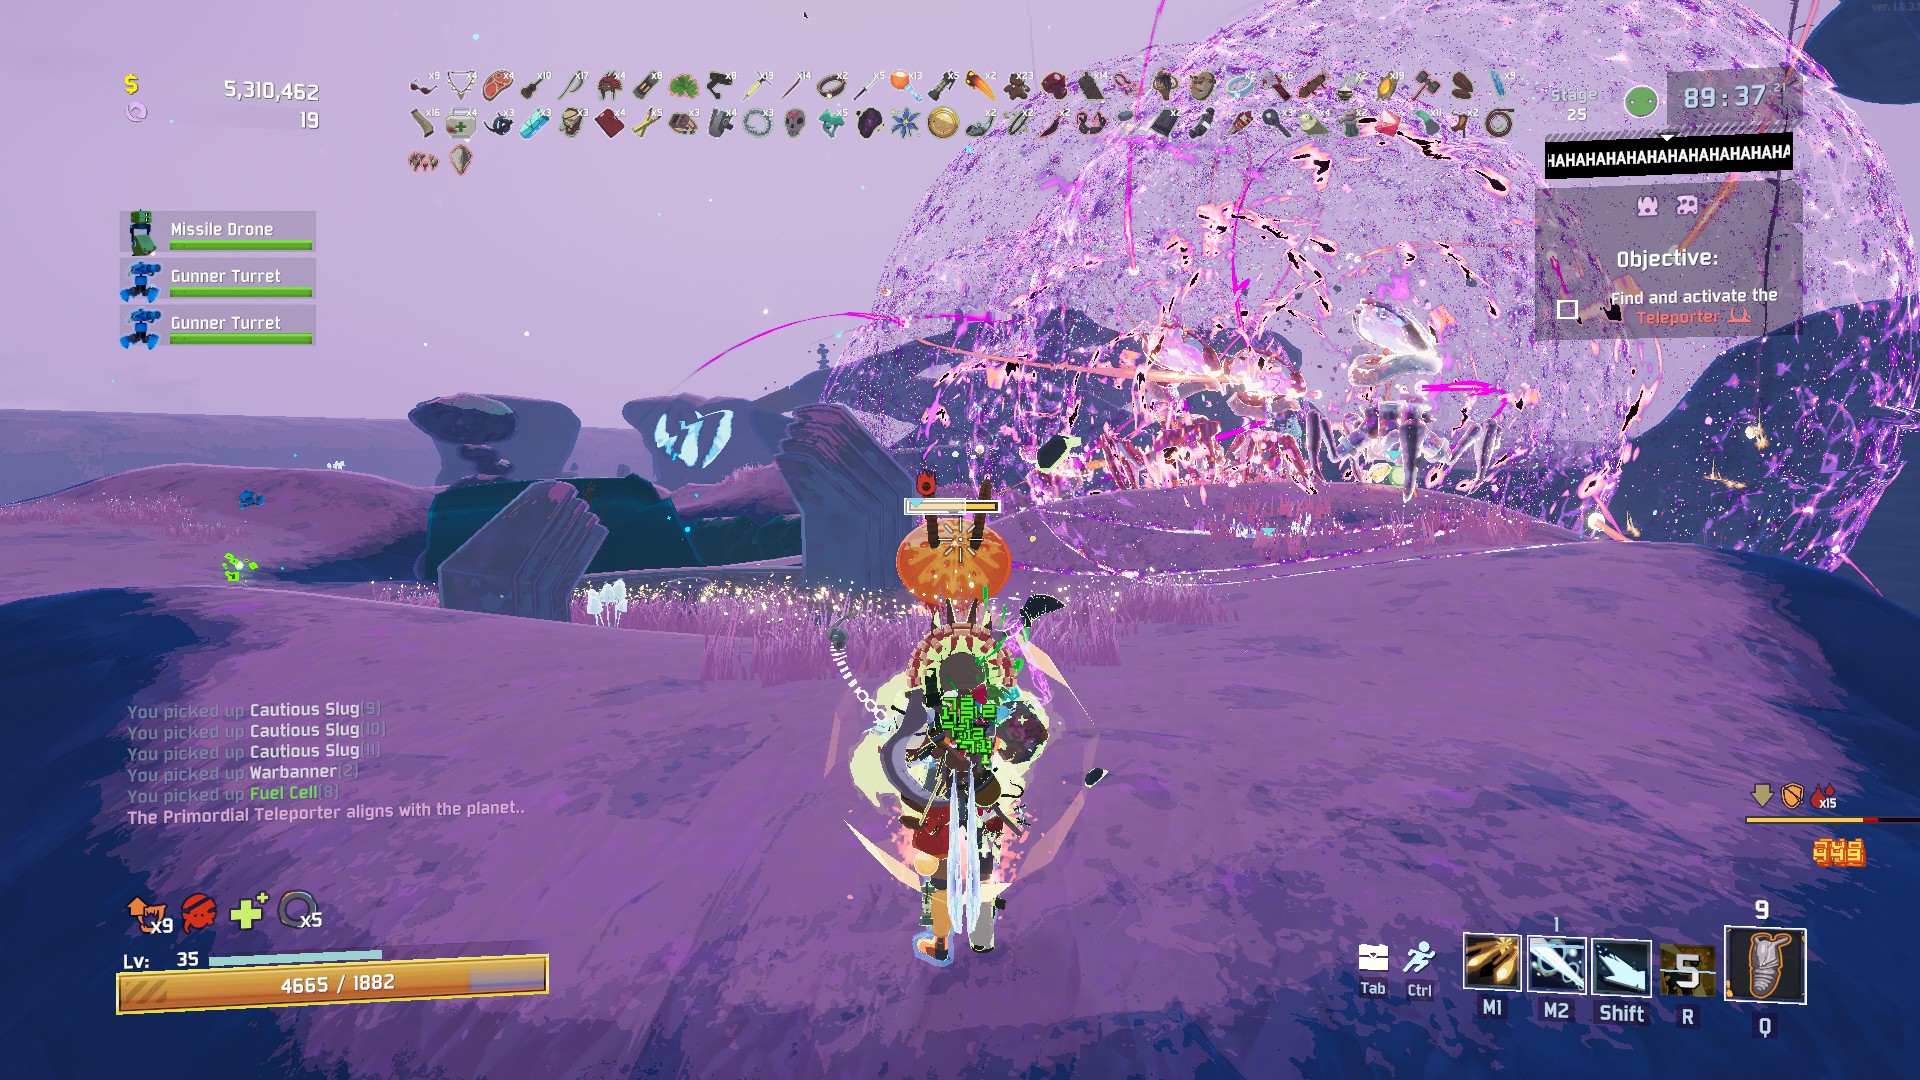
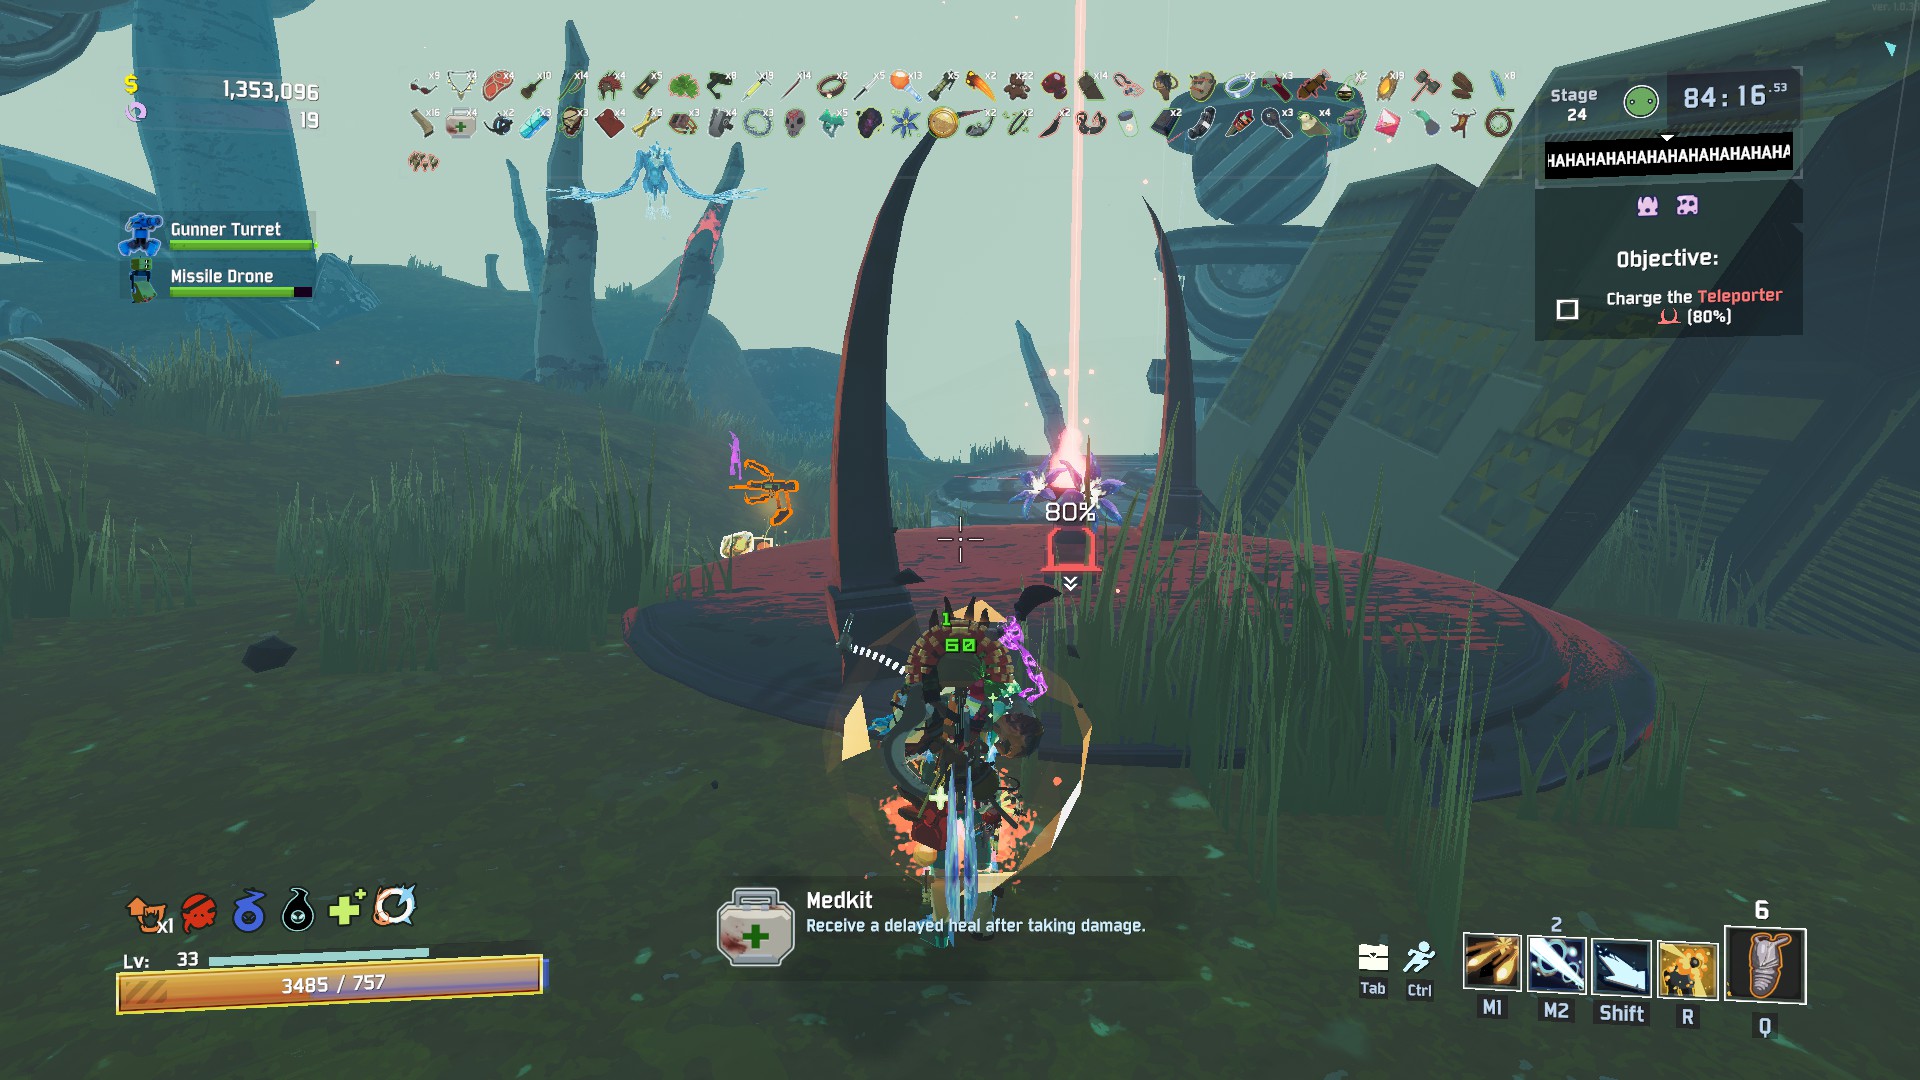
Sky Meadow, again, but at Stage 19. We rush to the artefact portal, we complete Death (again, no allies to be affected by it) and we get to Stage 20 without any issues. In Stage 20, we ended up defeating the Overloading Worm that just casually spawned in, hence unlocking the Rolling Thunder achievement… Next up, we go through the portal and unlock the Incorruptible achievement as well for clearing 20 stages in a single run without picking up any Lunar items. After that, I wanted to obliterate on the Portal in A Moment, Fractured… but then I noticed that I still haven’t bothered finding the easter egg in that Hidden Realm.
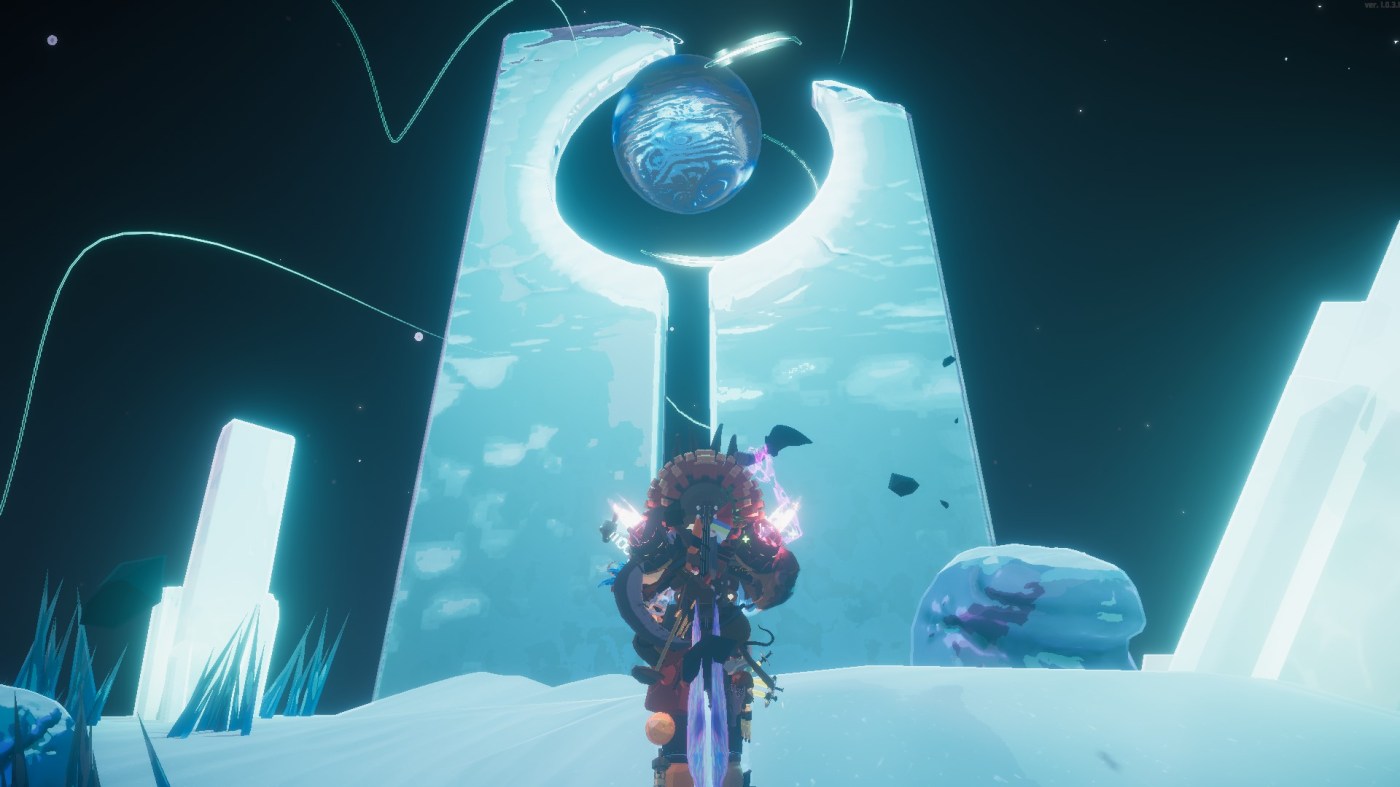
If you enter A Moment, Fractured, and look to the left of the starting island, you can turn up the Gamma to 50% to see three islands far away in the distance. That’s where the easter egg is. Alas, we didn’t obliterate but instead looped yet again to grab more Hopoo Feathers, more Fuel Cells, and the Milky Chrysalis equipment.
The Milky Chrysalis allows us to fly for 15 seconds with a +20% movement speed bonus during the duration. With 9 Fuel Cells and a bunch of movement speed items as well as a lot of extra jumps, we’re able to just permanently be in the air without any worry in the world. We fly off into the distance and shortly reach the lovely easter egg island that you can see here.
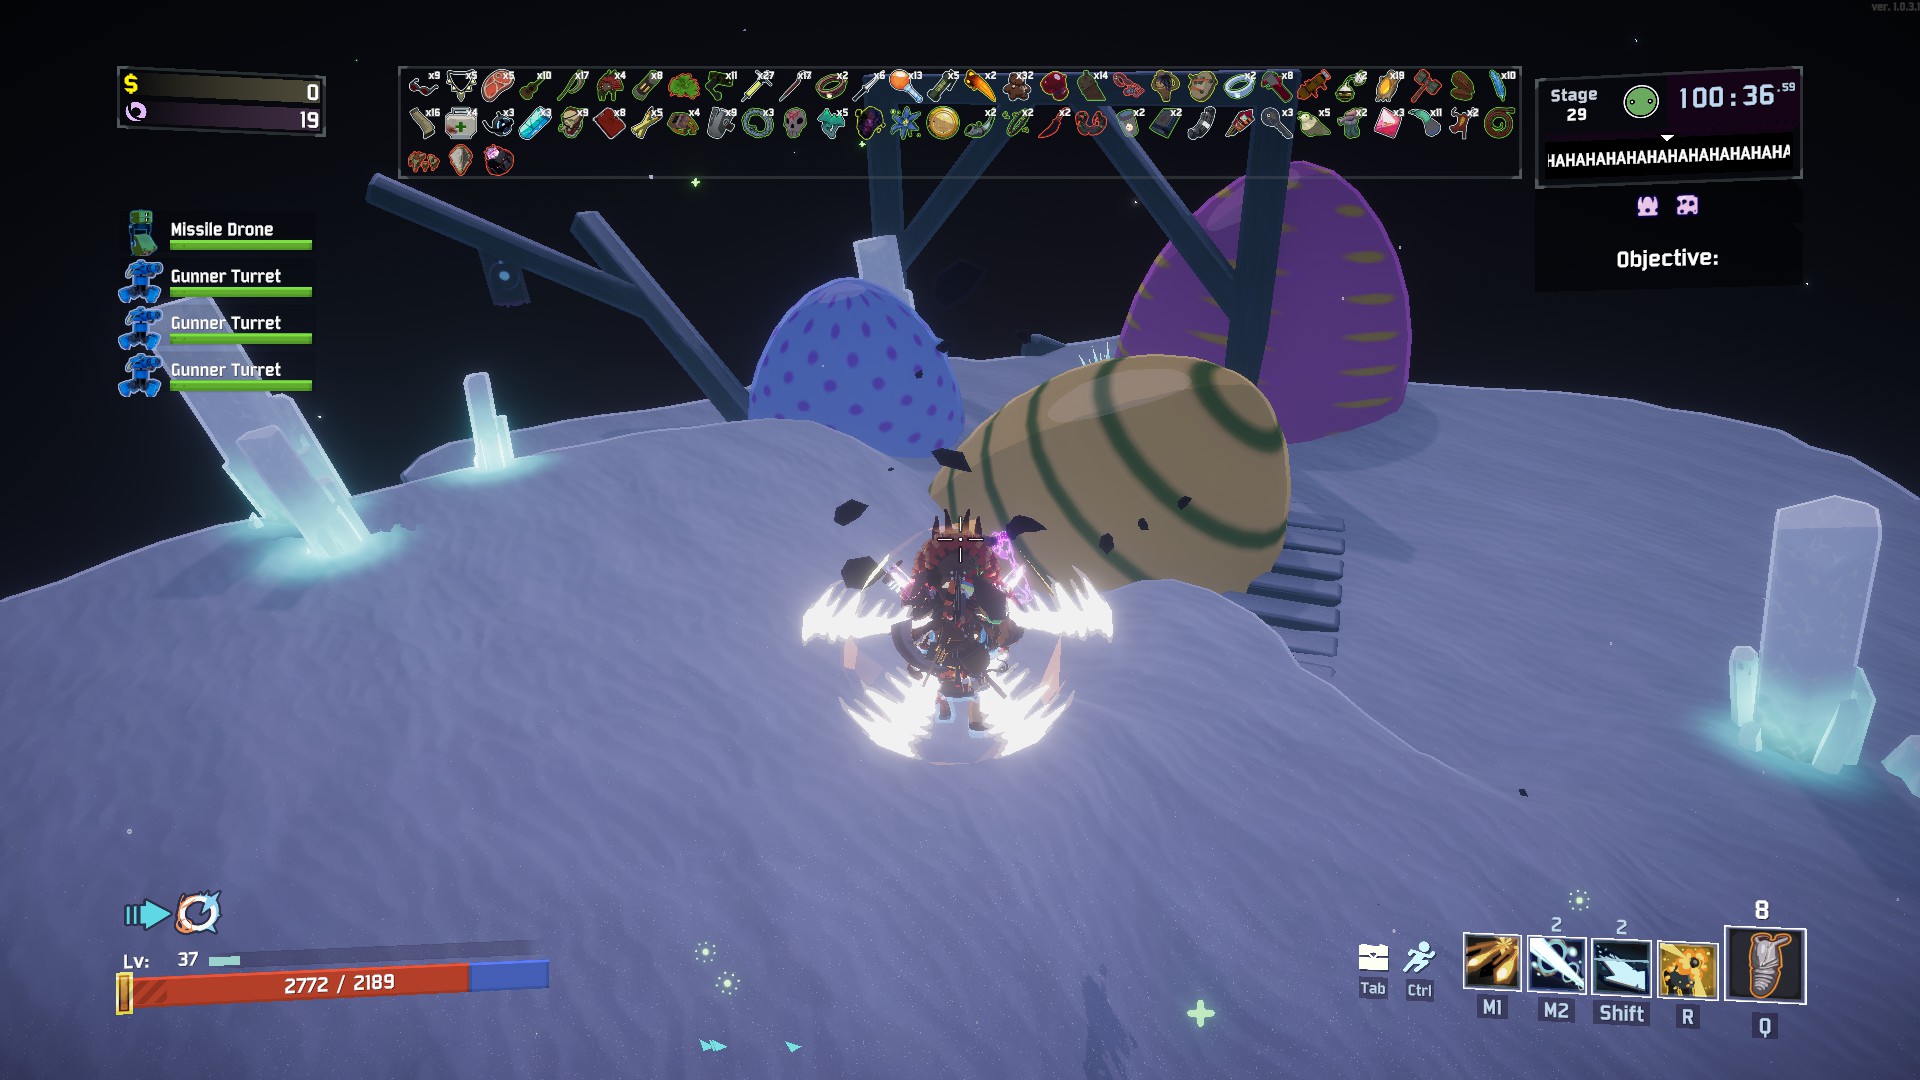
Yup, literal easter eggs.
And alas, I’m only missing the skin for the Commando… but I feel like I’ve played enough Commando for the day. I’m honestly not a huge fan of this character in the second game, despite me quite enjoying the glass-builds I did in the first game on this character.
I’m only missing 11 more achievements in the game and they’re all unlocks for different characters. I’m really looking forward unlocking some of those, as I have yet to unlock the Engineer’s spider mines and as I haven’t played too much of the Mercenary or Acrid, yet! I play on publishing more posts on this topic in the future, so until then,…
Cheers!
This post was originally written by Dan Dicere from Indiecator.
If you wanna get in touch with me, feel free to stop by for one of my Twitch streams. For business inquiries, please reach out via email.
