Risk of Rain 2 is one of my all-time favourite games. It’s incredibly fun and challenging and you can make the game harder by activating several relics. Survivors of the Void added even more items, synergies, and potential builds to the mix, though, as well as yet another final boss to end the run on, which is pretty amazing! Either way, I’ve been meaning to 100% the game for quite some time now, so I wanted to talk about my recent achievements today.
Spoiler Warning: I’ll talk about and mention mechanics from Survivors of the Void, including the new final boss, as well as the two new survivors and their respective achievements!
Last time, I was still missing the following achievements (bold means that we’ll talk about these today):
- Acrid: Mastery
- Bandit: Mastery
- Bandit: Sadist
- MUL-T: Mastery
- MUL-T: Seventh Day
- REX: Mastery
As it turns out, the DLC added a few more achievements that needed completion as well:
- Dragged Below
- Railgunner: Annihiliator
- Railgunner: Marksman
- Railgunner: Trickshot
- Railgunner: Mastery
- 「V??oid Fiend』: Mastery
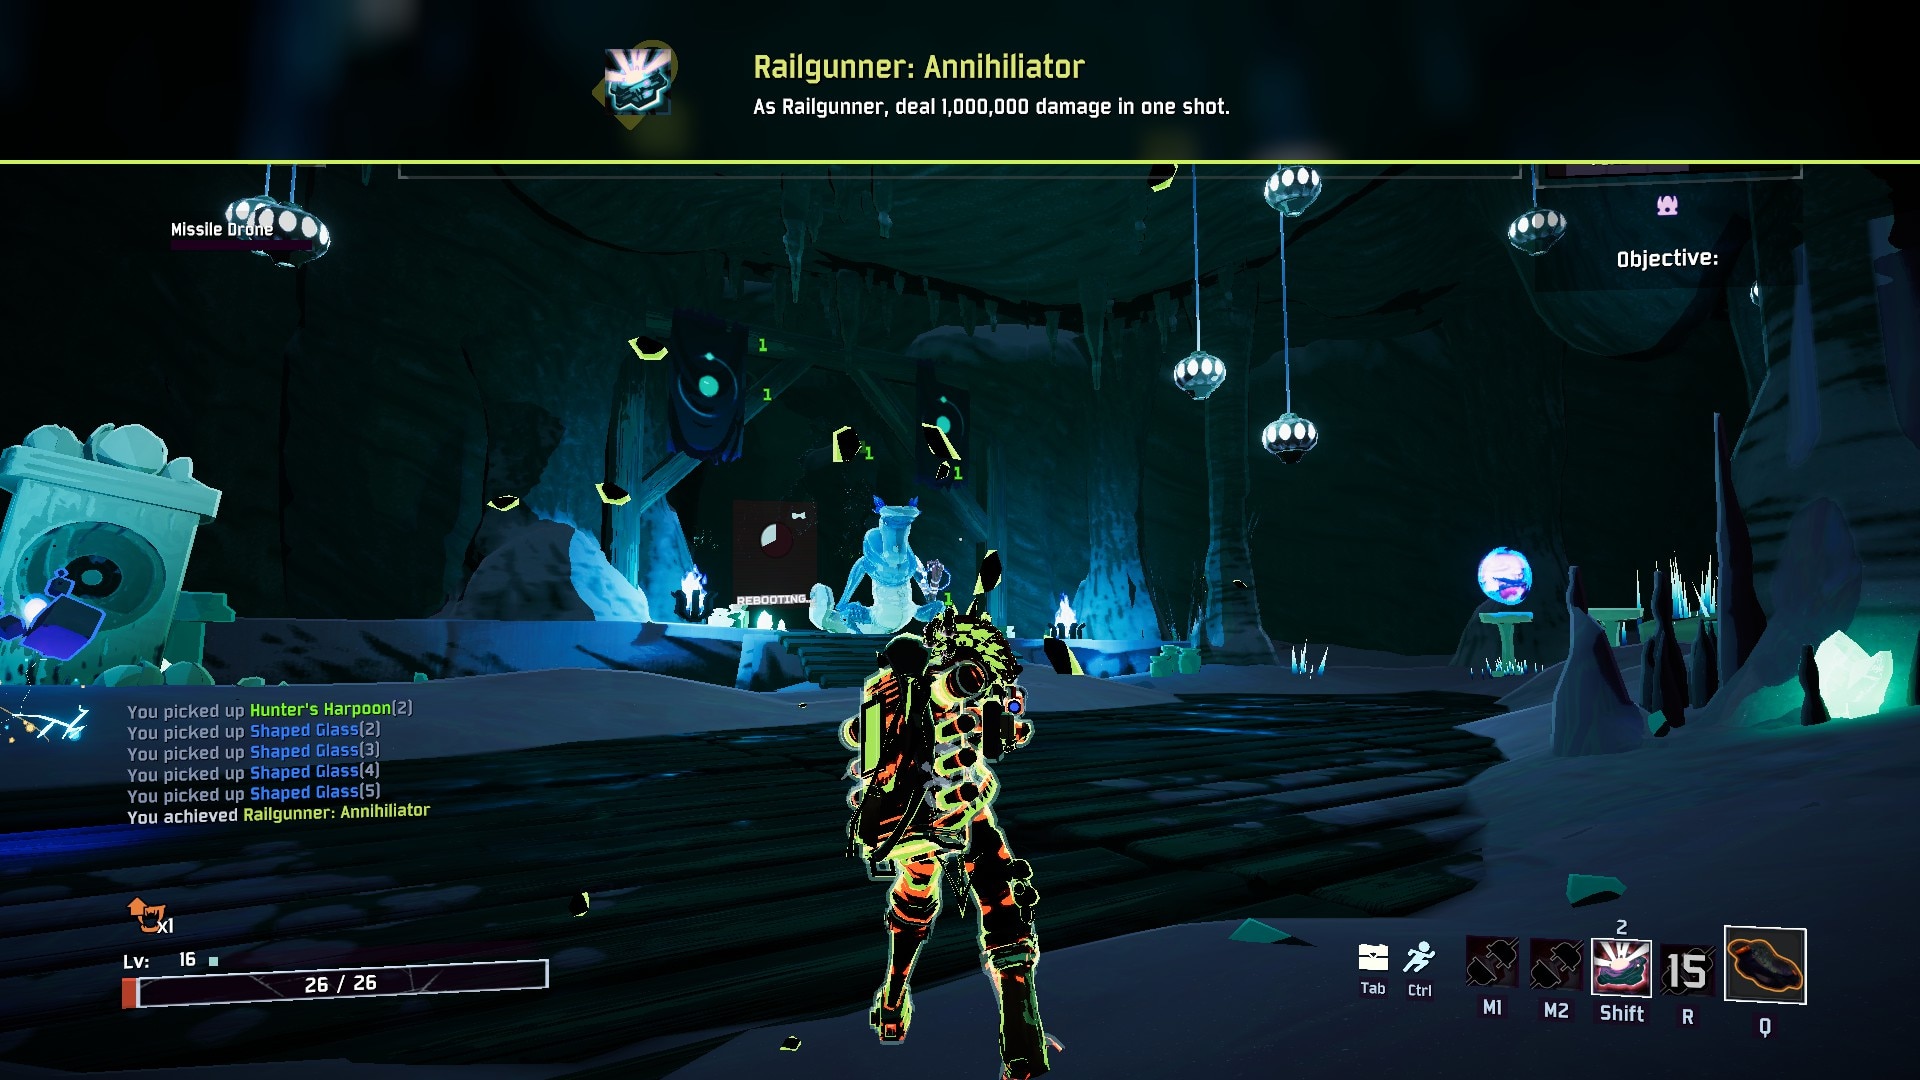
So, when you acquire the DLC, you’ll unlock the Railgunner right away. The “Annihilator” achievement requires you to deal 1,000,000 damage in one shot as Railgunner, which sounds pretty insane but in essence, you stack a lot of crowbars (about 20), a bunch of shaped glass (I went with four but five can’t harm either), and some defensive items. For boss items, you’d want to stack some Titanic Curls and maybe also get a Planula. For white items, you may consider grabbing a few medkits, goat hoofs, as well as other items based on your preference that allow you to survive. The issue with the railgunner is that she’s really strong but somewhat immobile and squishy. A lot of enemies swarming her can mean certain death for your run, which is why you’ll want to focus more on defensive items before anything else. To unlock the achievement, you may play on Drizzle but frankly, I decided to kill two birds with one stone by playing on Monsoon, unlocking the Mastery achievement in the process. Once you get your items, you’ll essentially deal a ton of damage which is further amplified by weak spot damage. So, you take up your railgun, load up your special ability, aim for a distant enemy’s weak spot and shoot it out… and then the achievement should pop. Sometimes, it may take another try depending on the enemy, given that some may have already been damaged by other factors… but in general, it shouldn’t take too much for you to try this. The crowbars basically amplify your damage on “healthy” targets, meaning that you deal the most damage when you hit something that is at full health. Meanwhile, Shaped Glass halves your health but doubles your damage. This also removes one-shot protection, meaning that you need to be really careful. Hence, the Titanic Curls are godsent as they increase your health by a tremendous amount to begin with. Stacking a bunch of shaped glasses results in you doubling your damage again and again and again and again, creating HUGE numbers on top of making you incredibly fragile.
For “Marksman”, I went in with the artefact of “Kin” on Drizzle. The goal here is to fire 30 consecutive sniper shots without missing a single weak point. I started up a run and restarted it until I got beetles and only beetles. Beetles are incredibly easy to hit and they’re slow, which makes them the safest and easiest target. Now, you basically just shoot at their heads thirty times. Hitting multiple at once speeds up the process, as I noticed. Your sniper shots pierce targets, so amassing a bunch of them and lining them up properly is pretty great. Alternatively, you can just use your jump pack to yeet yourself onto a high-up position where they can’t reach you… and then you just take your time. Due to “Kin”, only beetles will spawn on this stage, so you can just wait it out and do it until the achievement pops up. When you miss a weak spot, you won’t see the red number aka you don’t crit, so take that as an indicator as to whether you missed it or not. The “Trickshot” achievement requires you to kill three enemies with a single Supercharge shot while airborne. This one is fairly easy as it only requires you to get high up into the air and then you shoot a group of enemies with the supercharge. Honestly, I found it to be the easiest achievement out of these with it popping up without me even trying to achieve it. As your run proceeds, you’ll rack up a lot of damage items, so killing three enemies at once with this ability is hardly a feat, in my opinion – the payout for it, though, is incredibly nice!
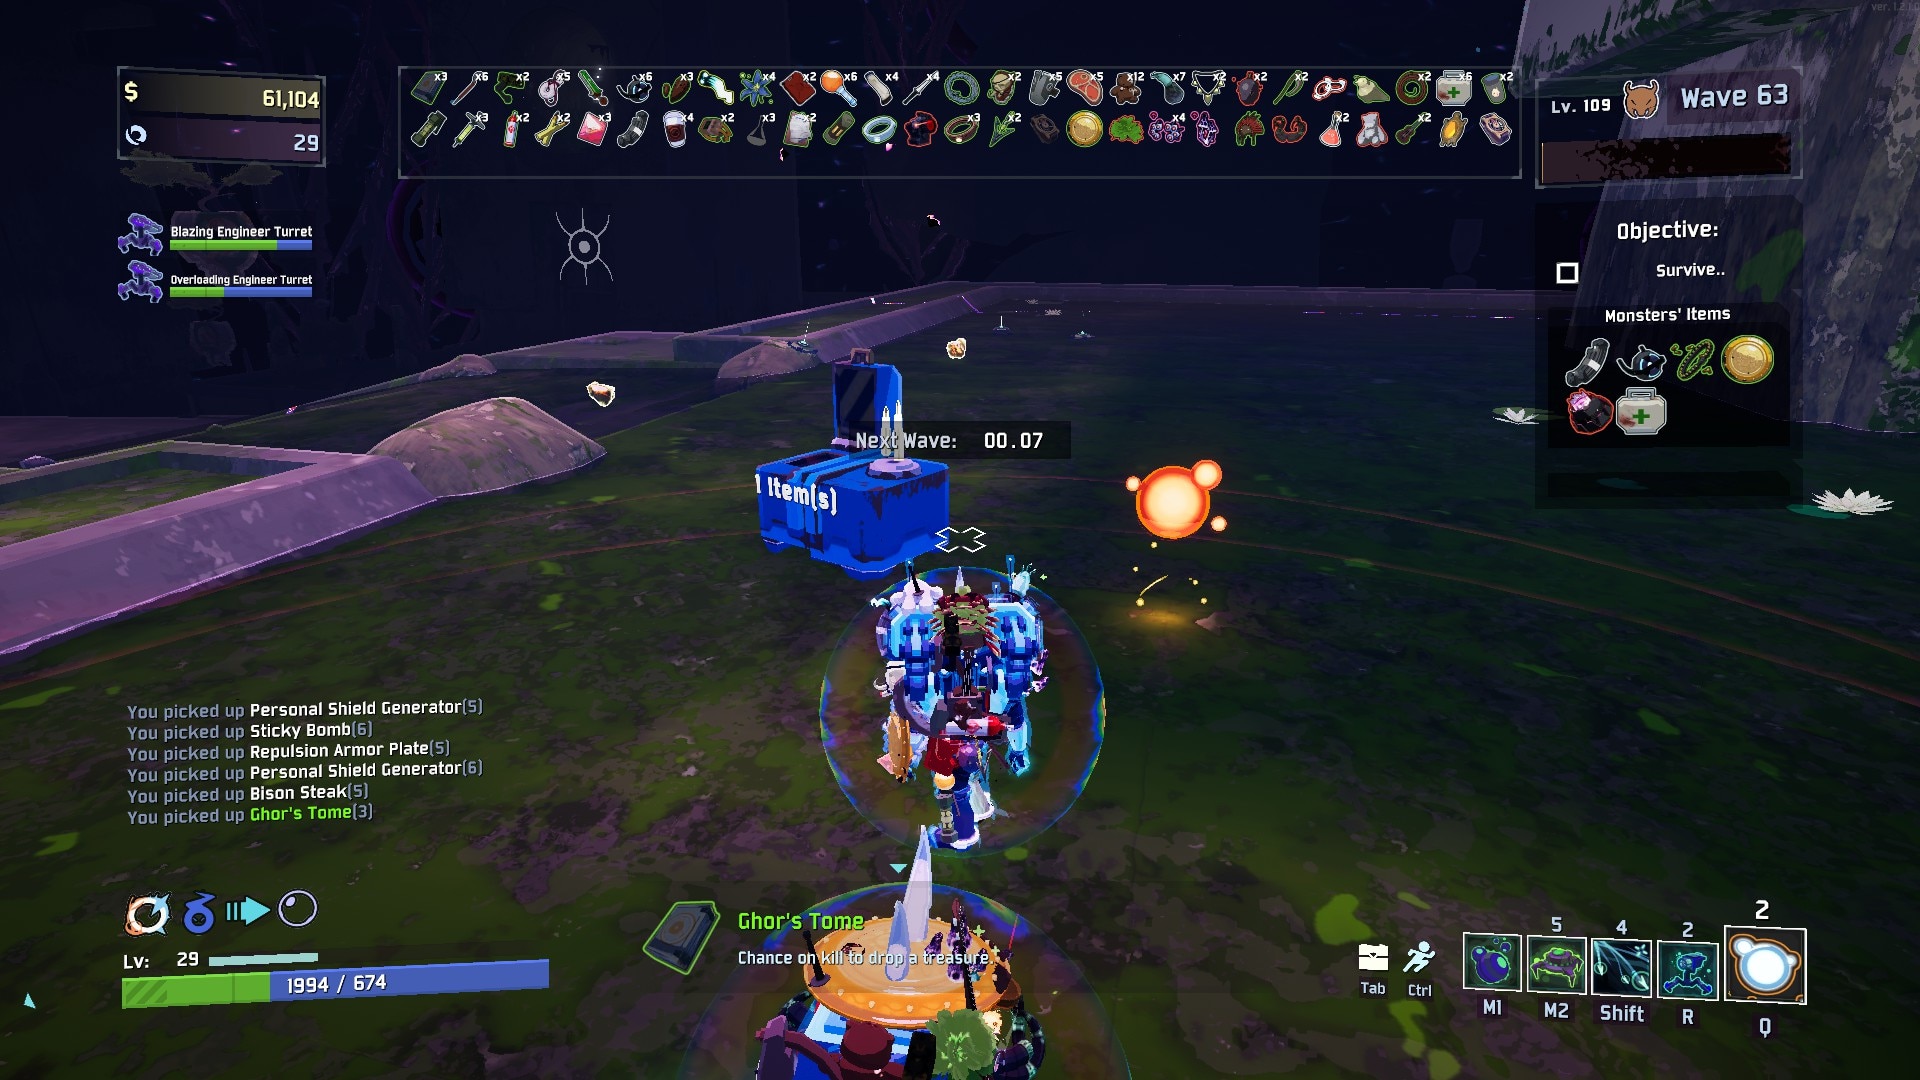
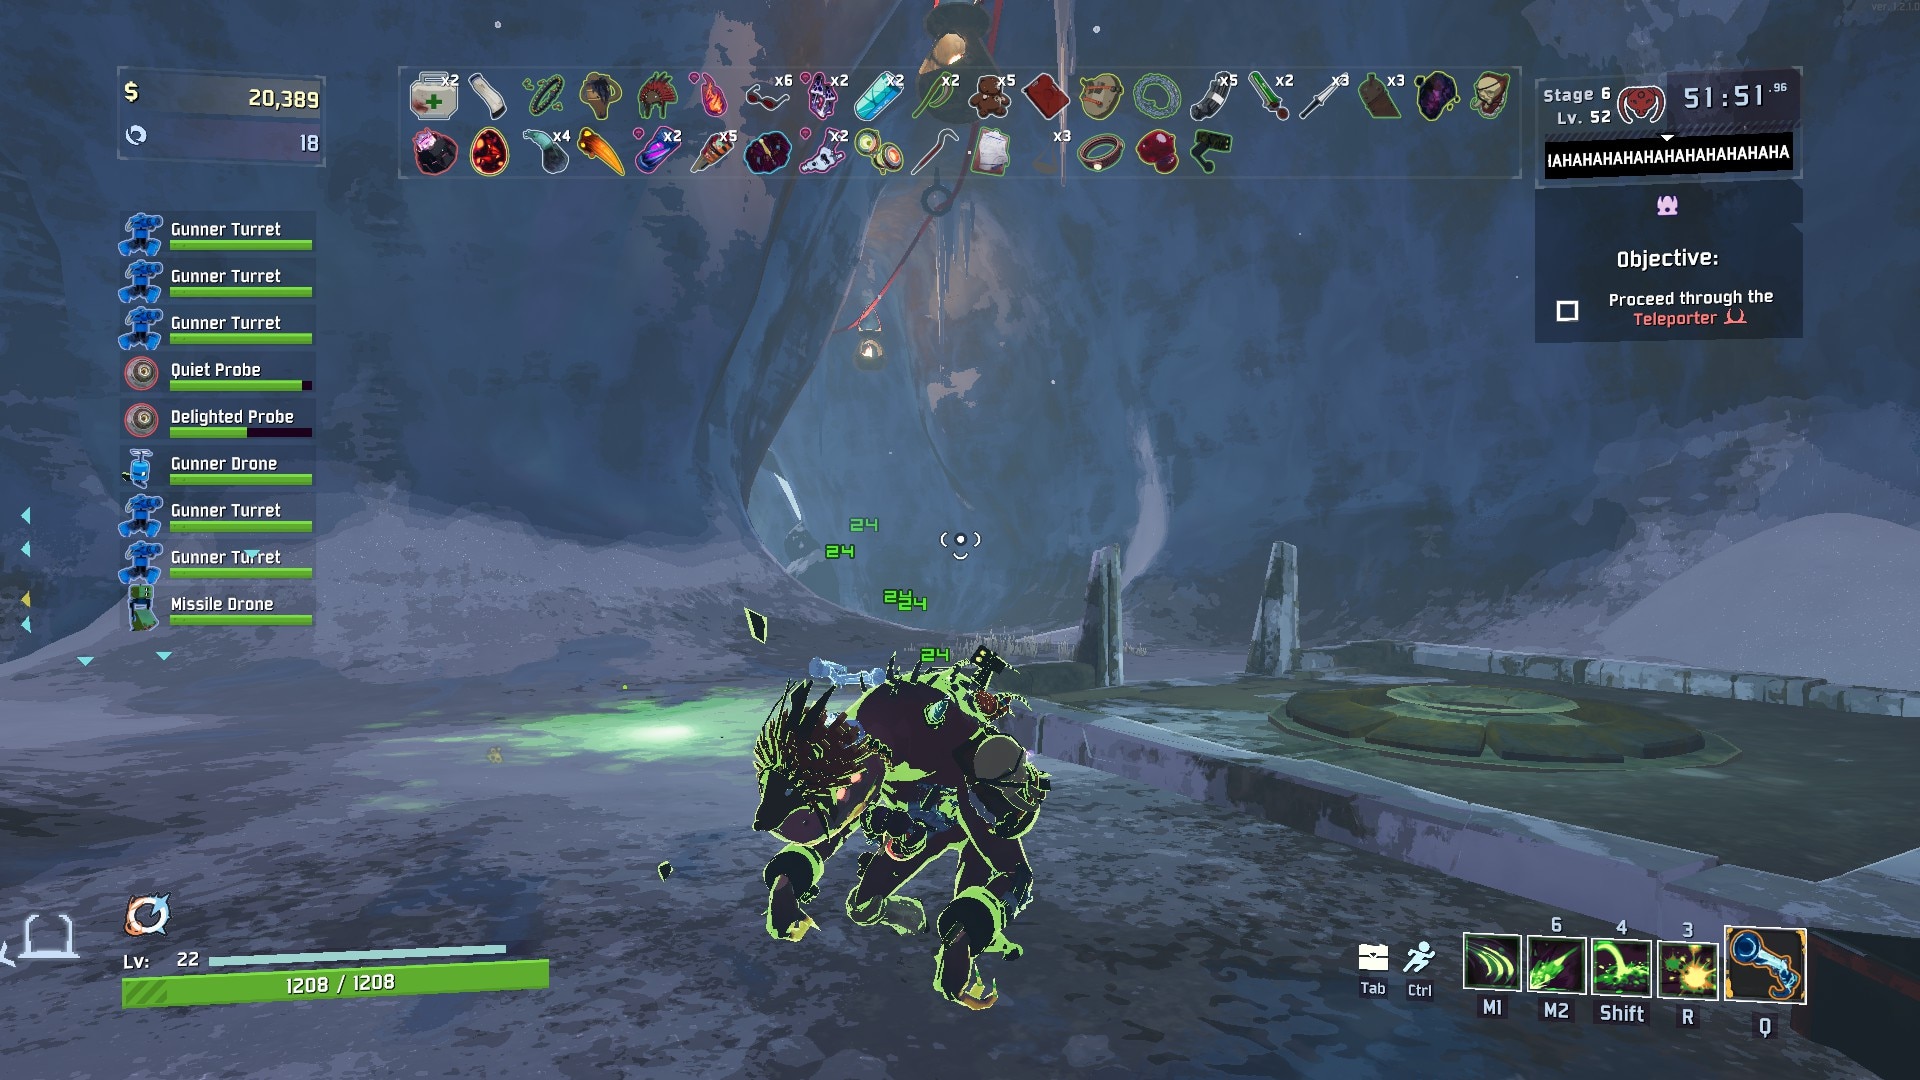
Dragged Below requires you to escape the Planetarium or to complete wave 50 in Simulacrum. The Planetarium is a new stage that I honestly don’t like all that much. To get there, you’ll need to use one of three routes: Complete the Void Fields (and a purple portal will spawn), pet the frog on the moon after beating Mithrix and escaping, or you loop around after the fifth stage and hope that it spawns randomly afterwards. You can also enter the Bazaar Between Time and make it the next area (“You dream of Potential”), although I found that to be somewhat unreliable, personally. In the Deep Void, you’ll need to charge up for areas while fending off Void Jailers, Void Devastators, Void Barnacles and Void Reavers. Once you charged up all four of them, a new portal spawns, allowing you to challenge the new final boss, the Voidling, in the Deep Void. Once you beat this creature, you’ll be able to escape the Planetarium, unlocking the Void Fiend. A much easier option is to simply play the Simulacrum, though, unlocking the Void Fiend once you complete Wave 50. Go with that route, the new mode is a lot of fun, especially with friends!
MUL-T’s “Seventh Day” achievement required me to clear the Void Fields on Stage 7 or later. This proved to be quite hard to accomplish given that the void fields are not only more difficult now – but Stage 7 is also quite late to do. Still, I didn’t find a cheese strat for this, so I just did as the game told me, and completed it. For MUL-T Mastery and Acrid Mastery, I just had to beat a run of these two characters on Monsoon by obliterating or finishing the game. The easiest way to do it is to frankly obliterate, in my experience, so I stacked a bunch of mobility items on Acrid as well as Back-Up-Magazines to ensure that I have at least some way to deal with ranged critters. I also went for some defences given that Acrid is a melee survivor… and then I obliterated with him because that takes the least time and effort. This unlocked the Albino skin. For MUL-T Mastery, I essentially did the same. I mostly grabbed on-hit items, mobility items, and attack speed. Eventually, I got some crit chance as well as heal items, and then I obliterated with MUL-T as well, unlocking the Janitor skin in the process.
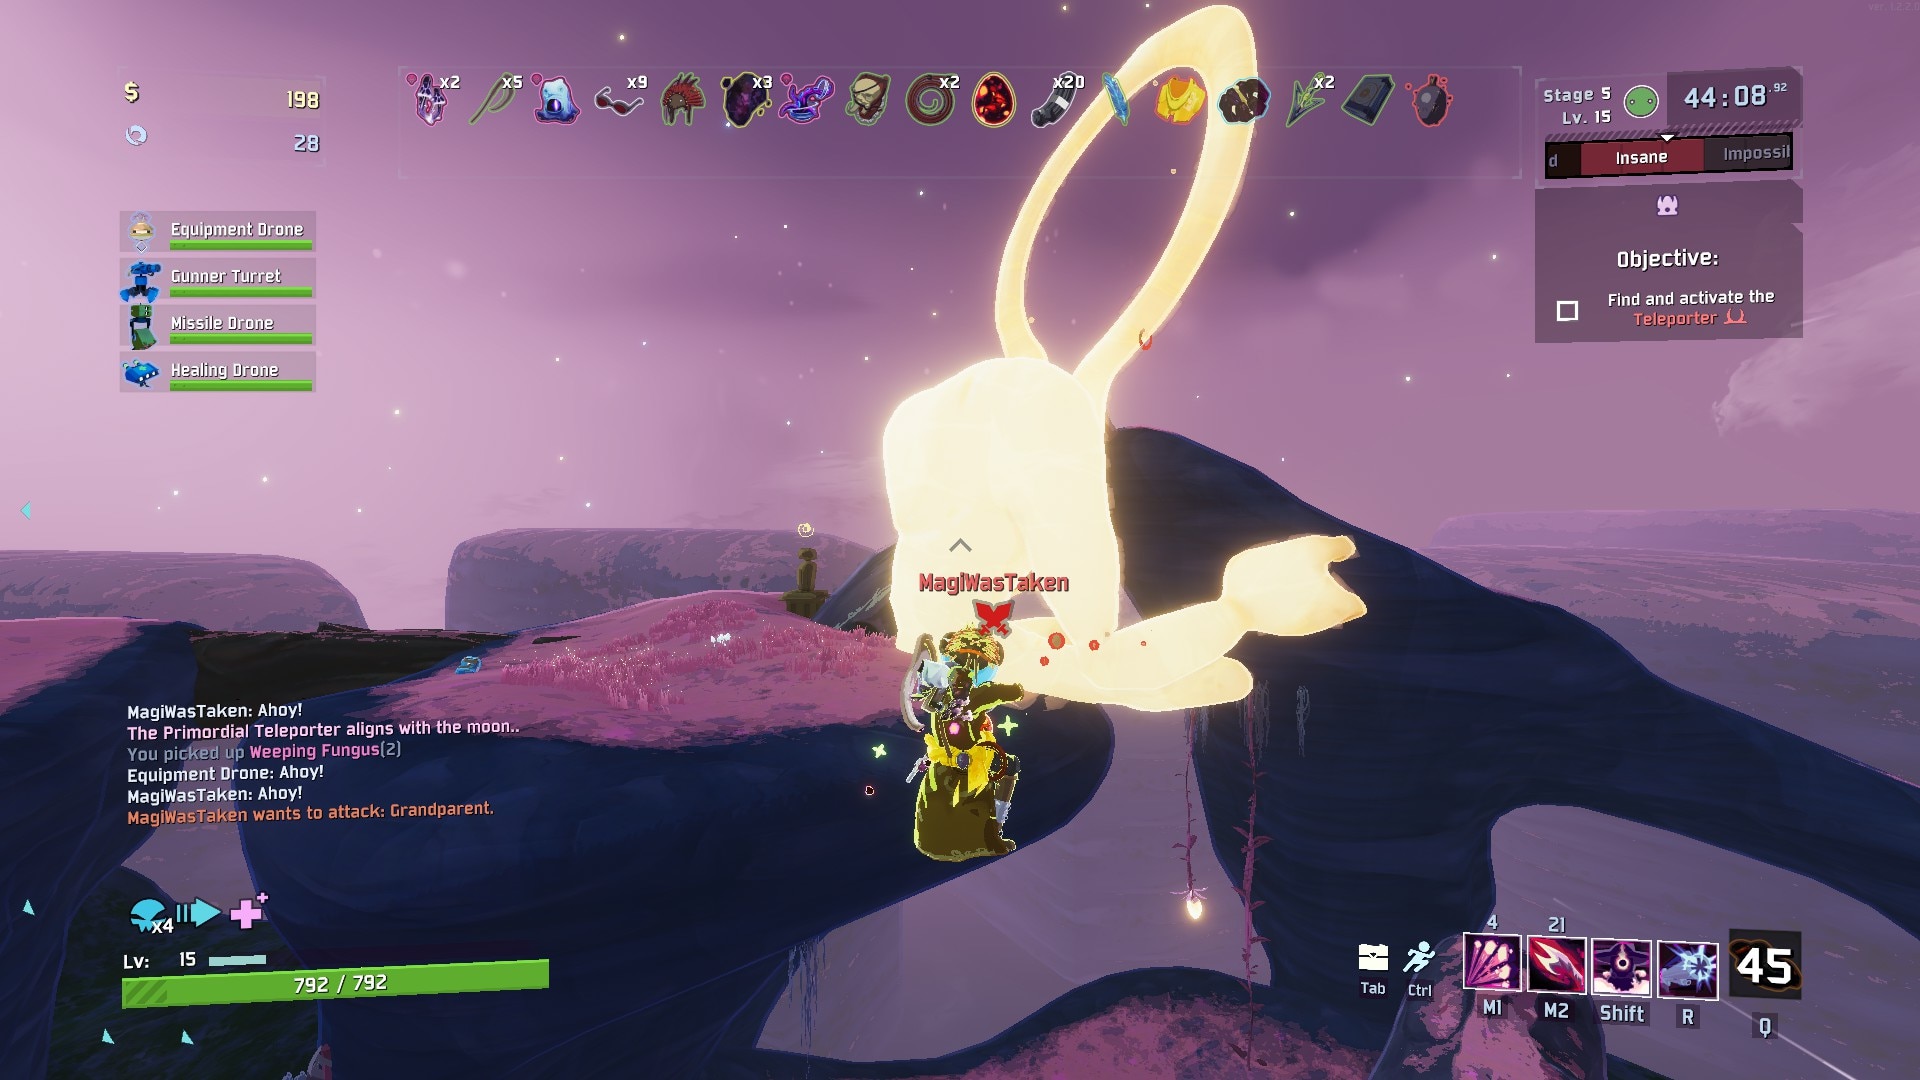
Bandit: Sadist requires you to kill a monster with 20 stacks of Hemorrhage, which is the status effect that your secondary ability applies when you critically strike with it. For this, I went into Drizzle with the artefact of Command and essentially grabbed 20 Back-Up-Magazines (20 extra charges for my secondary ability) as well as 100% crit chance. The goal here was simple. Crit with 20 Secondary Ability strikes, resulting in 20 stacks and a kill. The issue however is getting there… Hence, Drizzle. Even on Drizzle, the game gets harder over time but it’s less of an issue compared to Rainstorm or Monsoon. So, for boss items, I went with Titanic Curls to give me extra health so that I don’t have to worry about any enemies killing me using DoT-effects. Meanwhile, I eventually got a red item, so I acquired Alien Brain and Ben’s Raincoat. Ben’s Raincoat negates all debuffs while the Alien Brain reduces your skill cooldowns. For other items, I also grabbed a bunch of Hopoo Feathers for mobility as well as Harvester’s Scythes for healing – and then I also stacked a bunch of other heal items, just for survival alone. Technically you only need 100% crit chance but getting more than that isn’t really an issue either. I encountered some of my first green items relatively late, so I just stacked the crit glasses until I had 100%, so that I don’t have to count on a Harvester’s Scythe and Predatory Instincts. The green crit items also only give you 5% crit chance and the crit chance on those items doesn’t stack, actually, so beware of that. Technically, you also only need 19 Back-Up-Magazines but I wanted to make sure that I hit all of them. If the debuff were to run out, I’d still have some extra charges of my Secondary left, so for safety’s sake, I grabbed some extra ones. The Alien Head also worked in my favour there, reducing the cooldown of the secondary ability so much that I got two extra charges after spamming 20. The next step was just to find a boss-type enemy (because they have lots of health) that doesn’t move around much. Hence, I just took out all of my Secondary charges on a Grandparent spawning on Stage 5, resulting in me getting the achievement after I killed it.
At last, I’m still missing the mastery skins for the Void Fiend, Rex, and the Bandit. Given that the Void Fiend’s whole gimmick is that he has two different forms, he doesn’t have any secondary loadouts that need unlocking, which is an interesting choice. As for Rex and Bandit, I just will have to do it eventually. I don’t really play much of the Bandit, Rex, MUL-T, or Acrid anymore, which is why I haven’t unlocked those yet. It’s nice, however, to see that the Janitor skin for MUL-T is a reference to Risk of Rain 1’s version of him. Similarly, the Railgunner’s skin depicts the Sniper, the Engineer and Loader show the old model, and other characters that have been in the first game already have cool new skins that are special in their own way.
This post was originally written by Dan Dicere from Indiecator.
If you wanna get in touch with me, feel free to stop by for one of my Twitch streams. For business inquiries, please reach out via email.
