
Just recently, I started playing Risk of Rain 2 again and I’ve been busy unlocking abilities for characters, for the sake of achievements mostly. But then I found out that some of the members of the Twitch stream team that I recently joined also play that game… and alas, we played a couple of rounds and our friend, baconbitsnow, died more often than not and we had a hard time letting him experience more of the game than the death-screen. Alas, I tried reflecting on how to teach him the game easier without making things too hard for him or too complicated for him to understand. He knows the basics of the game already but since he hadn’t played in a while, he was basically a newbie when it came to understanding what the items do.
Alas, I wanted to write a small guide of sorts of the basics and how to maybe teach someone better how to play the game or how to make the game more fun for them.
First things first: What is Risk of Rain/Risk of Rain 2?
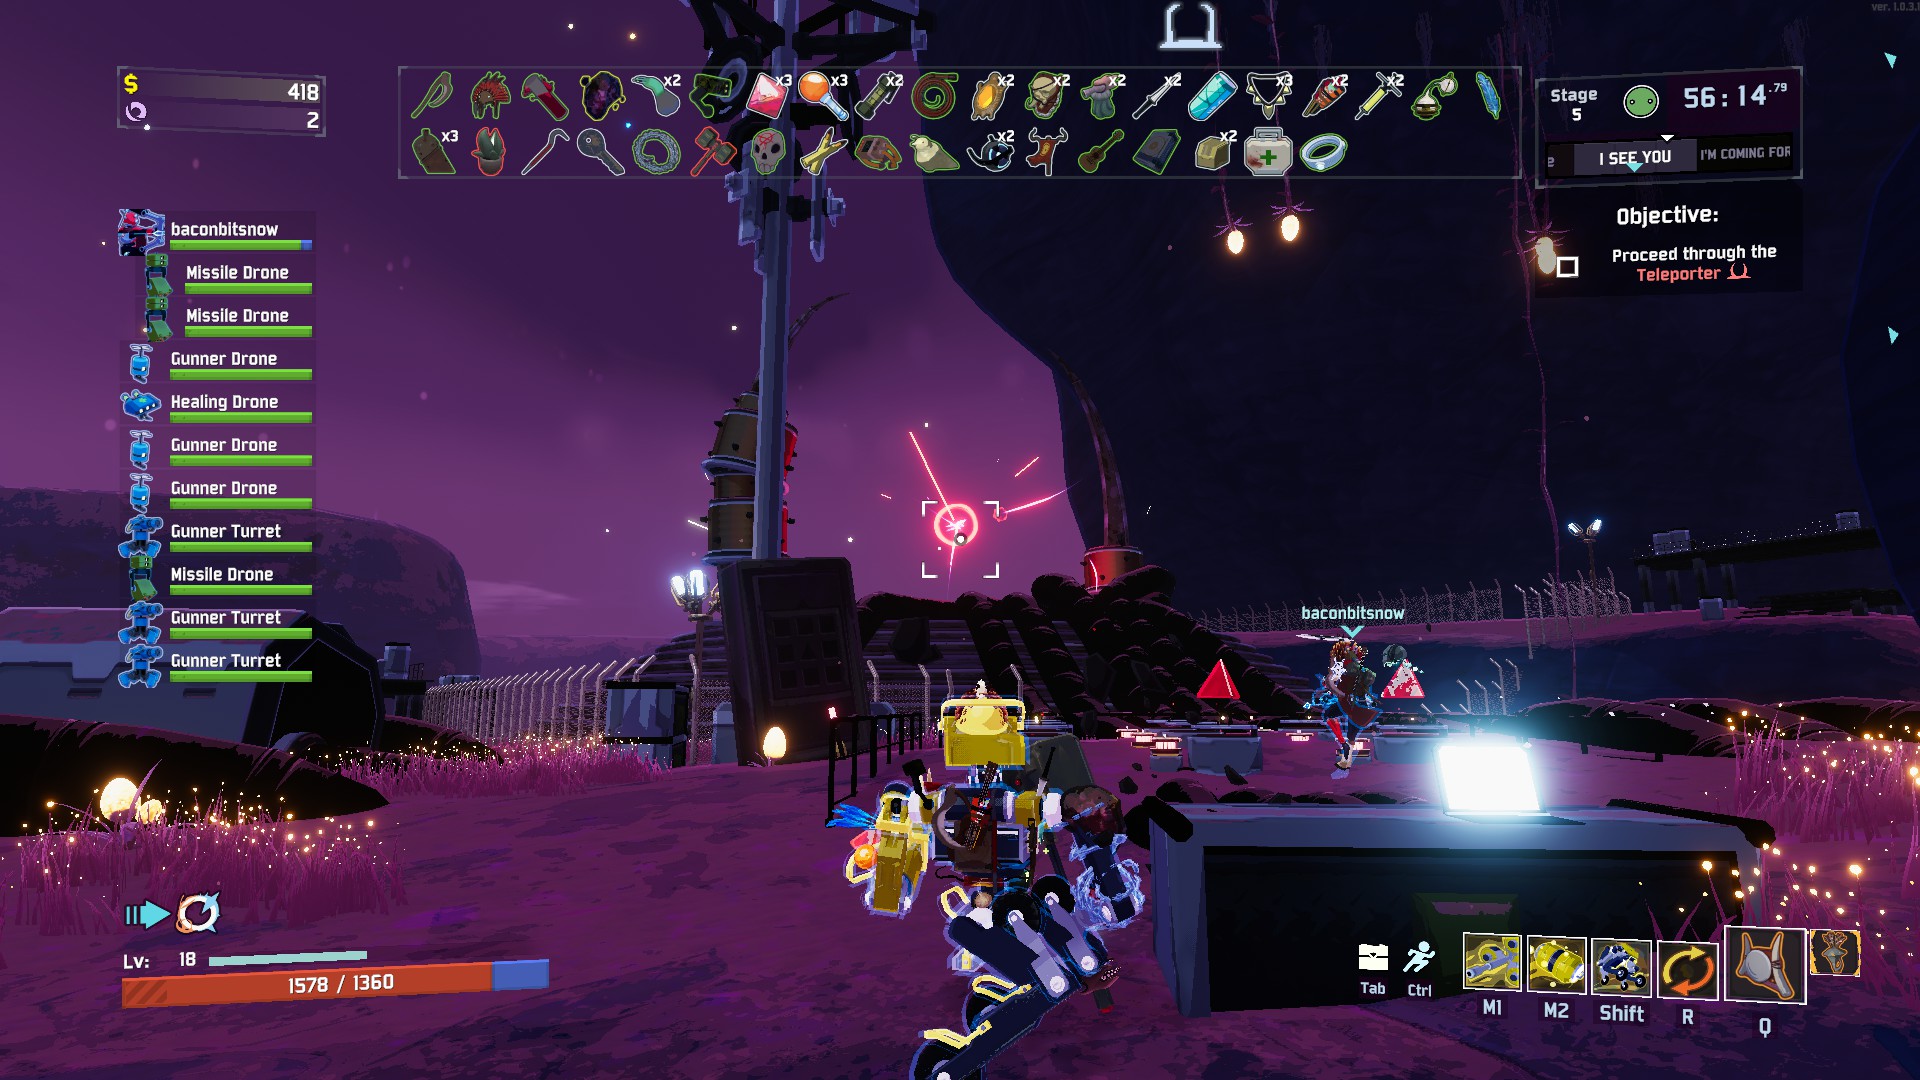
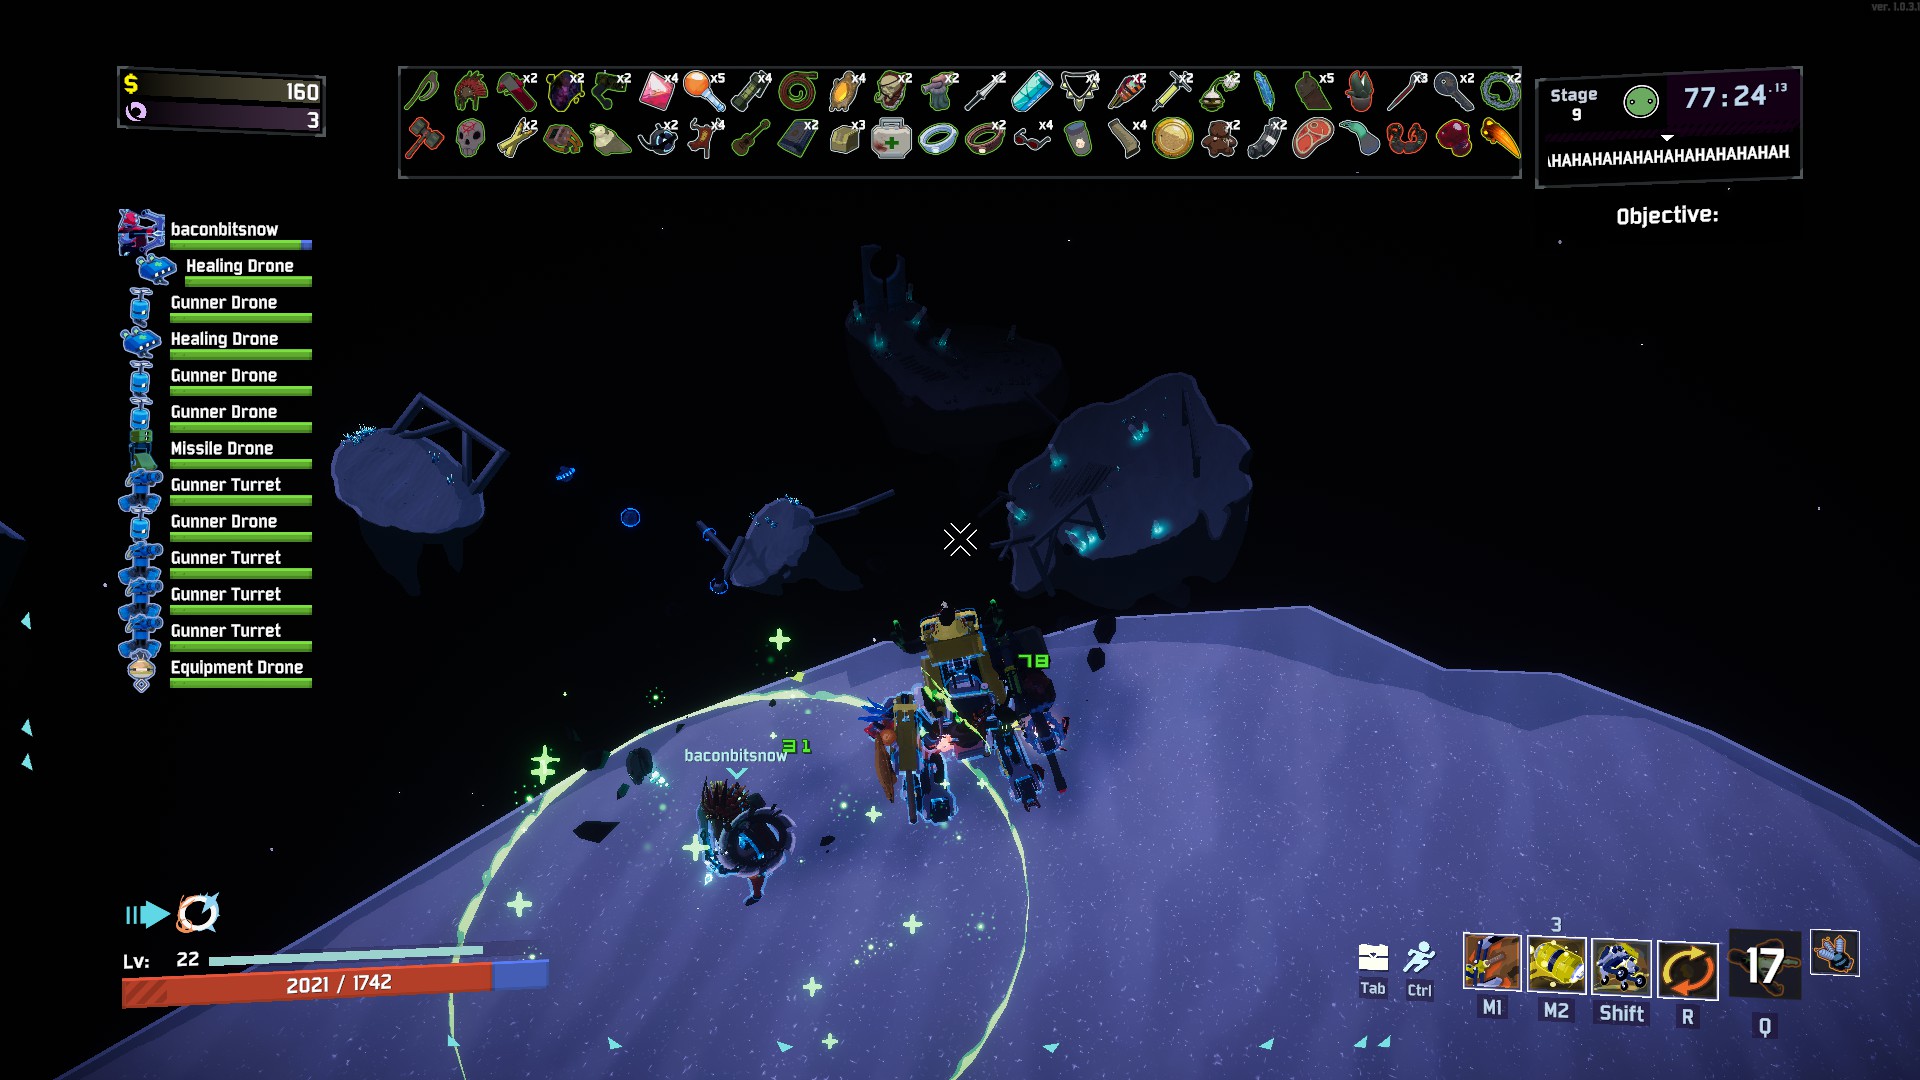
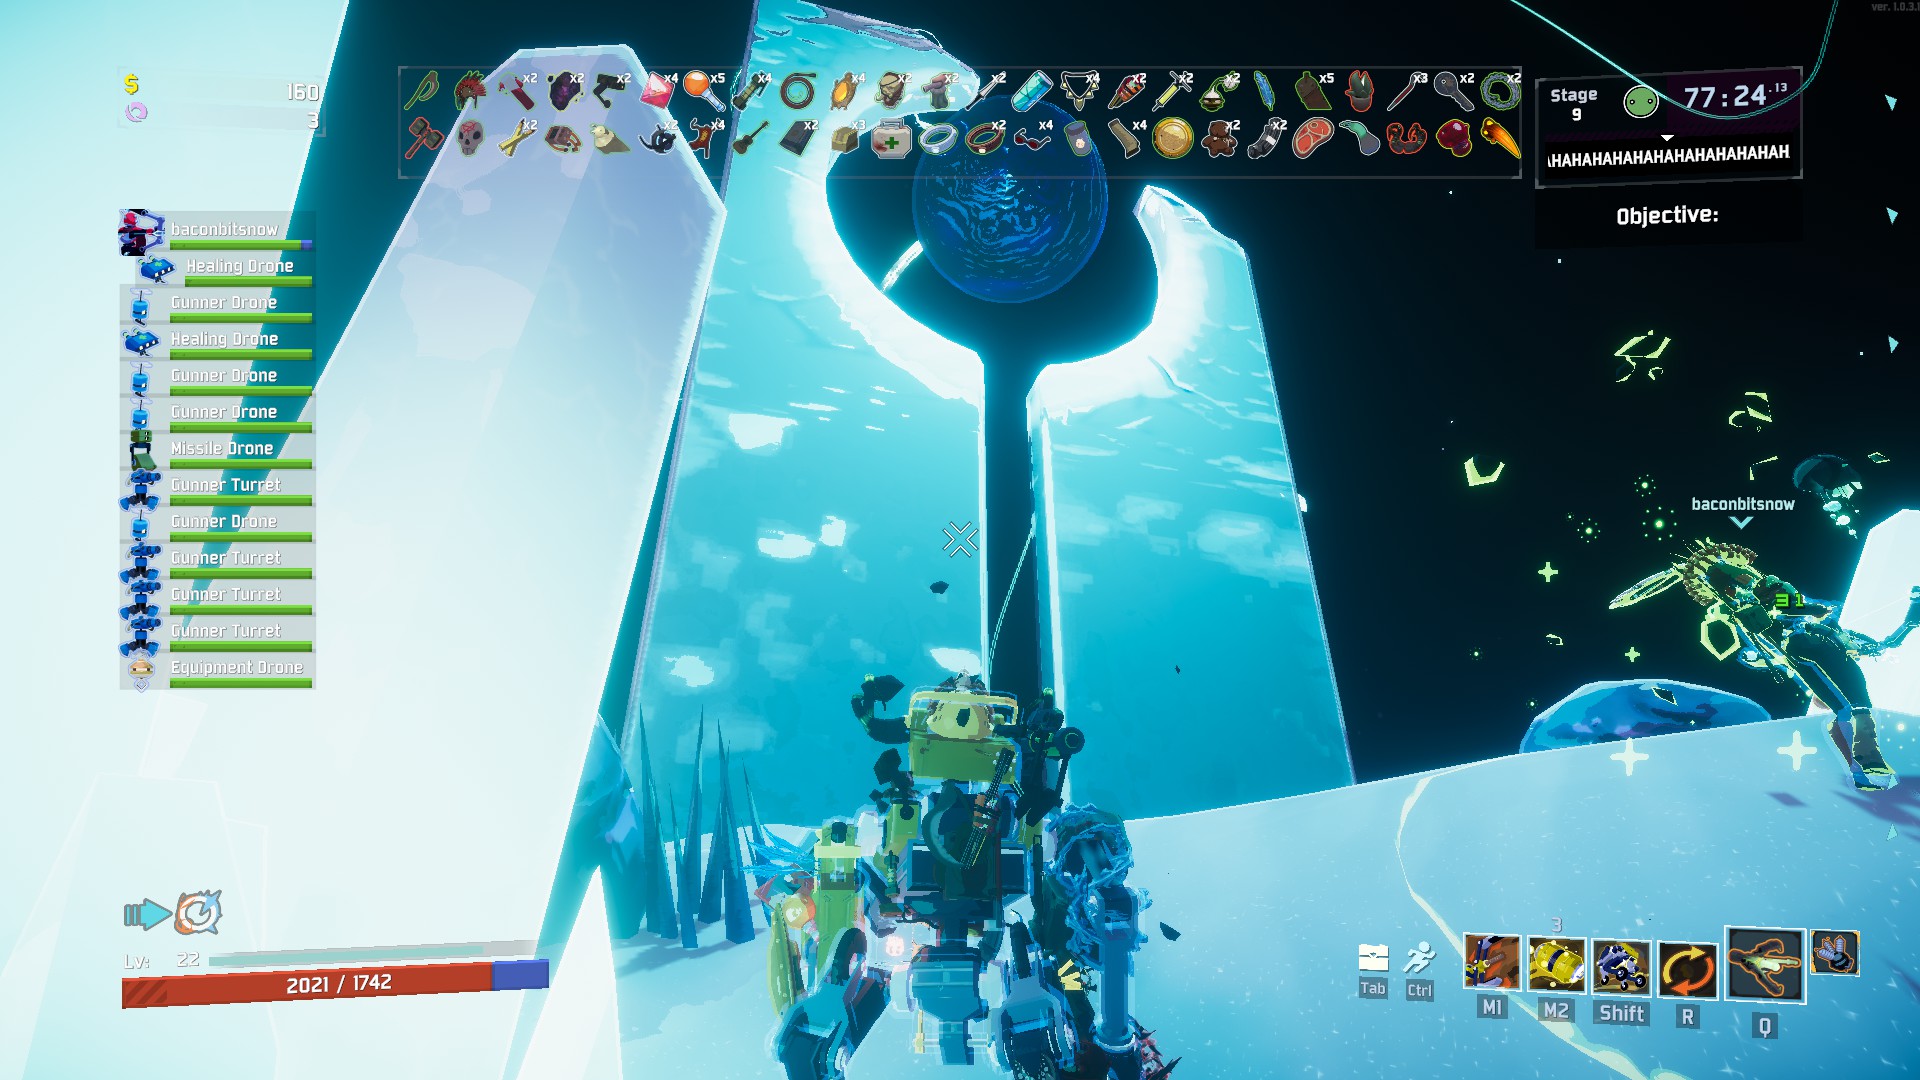
The Risk of Rain games are challenging roguelikes where you land on a planet and try to get to the teleporter in order to proceed. What makes the game so challenging is that you essentially have to race against the time itself. The longer the game proceeds, the more challenging it goes. At first, more enemies spawn, eventually, enemy-spawns become elites with unique properties, and at last, seeing boss enemies just casually spawn into the world or seeing elite bosses isn’t that unnatural anymore. You kill enemies to earn gold to buy items from chests you find in the world. Items make you stronger. Then you hit the teleporter and the teleporter event proceeds. In the first game, you’ll have to defeat the boss to be rewarded an item before you need to clear out the stage. Since the second game is in 3D opposed to the 2D style of the first game, you’ll need to stay in an area around the teleporter (big dome basically) to charge it up before you can proceed. Clearing the stage is no longer needed. If you proceed to the next stage too fast, however, you’ll be left in the dust by enemies that out-scale/out-level you, so killing enemies here and there to gain levels is also important.
These are the basics for the game.
In Risk of Rain 2, there are four difficulties: Drizzle, Rainstorm, Monsoon, and the all-new Eclipse. Eclipse is an alternate difficulty setting found in a separate menu that basically lets each survivor start at Eclipse level 1, giving allies a -50% Starting Health debuff. Once you complete the run, you’ll be at Eclipse Level 2 which decreases the teleporter radius by 50%. This scales up to Eclipse 8, making this game mode somewhat challenging and something that veterans should attempt but not beginners. Monsoon difficulty is harder to get into, so essentially I’d recommend teaching friends how to play on Drizzle or Rainstorm. Drizzle is a lot more forgiving as it grants more health regeneration to allies as well as a +70 bonus to armour. The difficulty also scales only at 50% of the normal pace, making this less challenging and easier to get into.
There’s no shame in taking training-wheels on for the sake of learning the game before eventually heading into Rainstorm, Monsoon and Eclipse runs. For the sake of the best experience, I’d disable any Artefacts, though, as they can be rather overwhelming to newer players.
While in theory, the Artefact of Command, for instance, could help out new players by letting them chose their items, it is a bit of a handicap as well since they’ll have to get that menu open and chose one of many items while standing wide-open and still. Instead of letting them chose their own items, I let Bacon open chests and ping the items instead, using the middle mouse button. This resulted in me seeing the item name in chat and me being able to explain what the item does and why he should or shouldn’t take it. I was also able to explain how the stacking of those items goes.
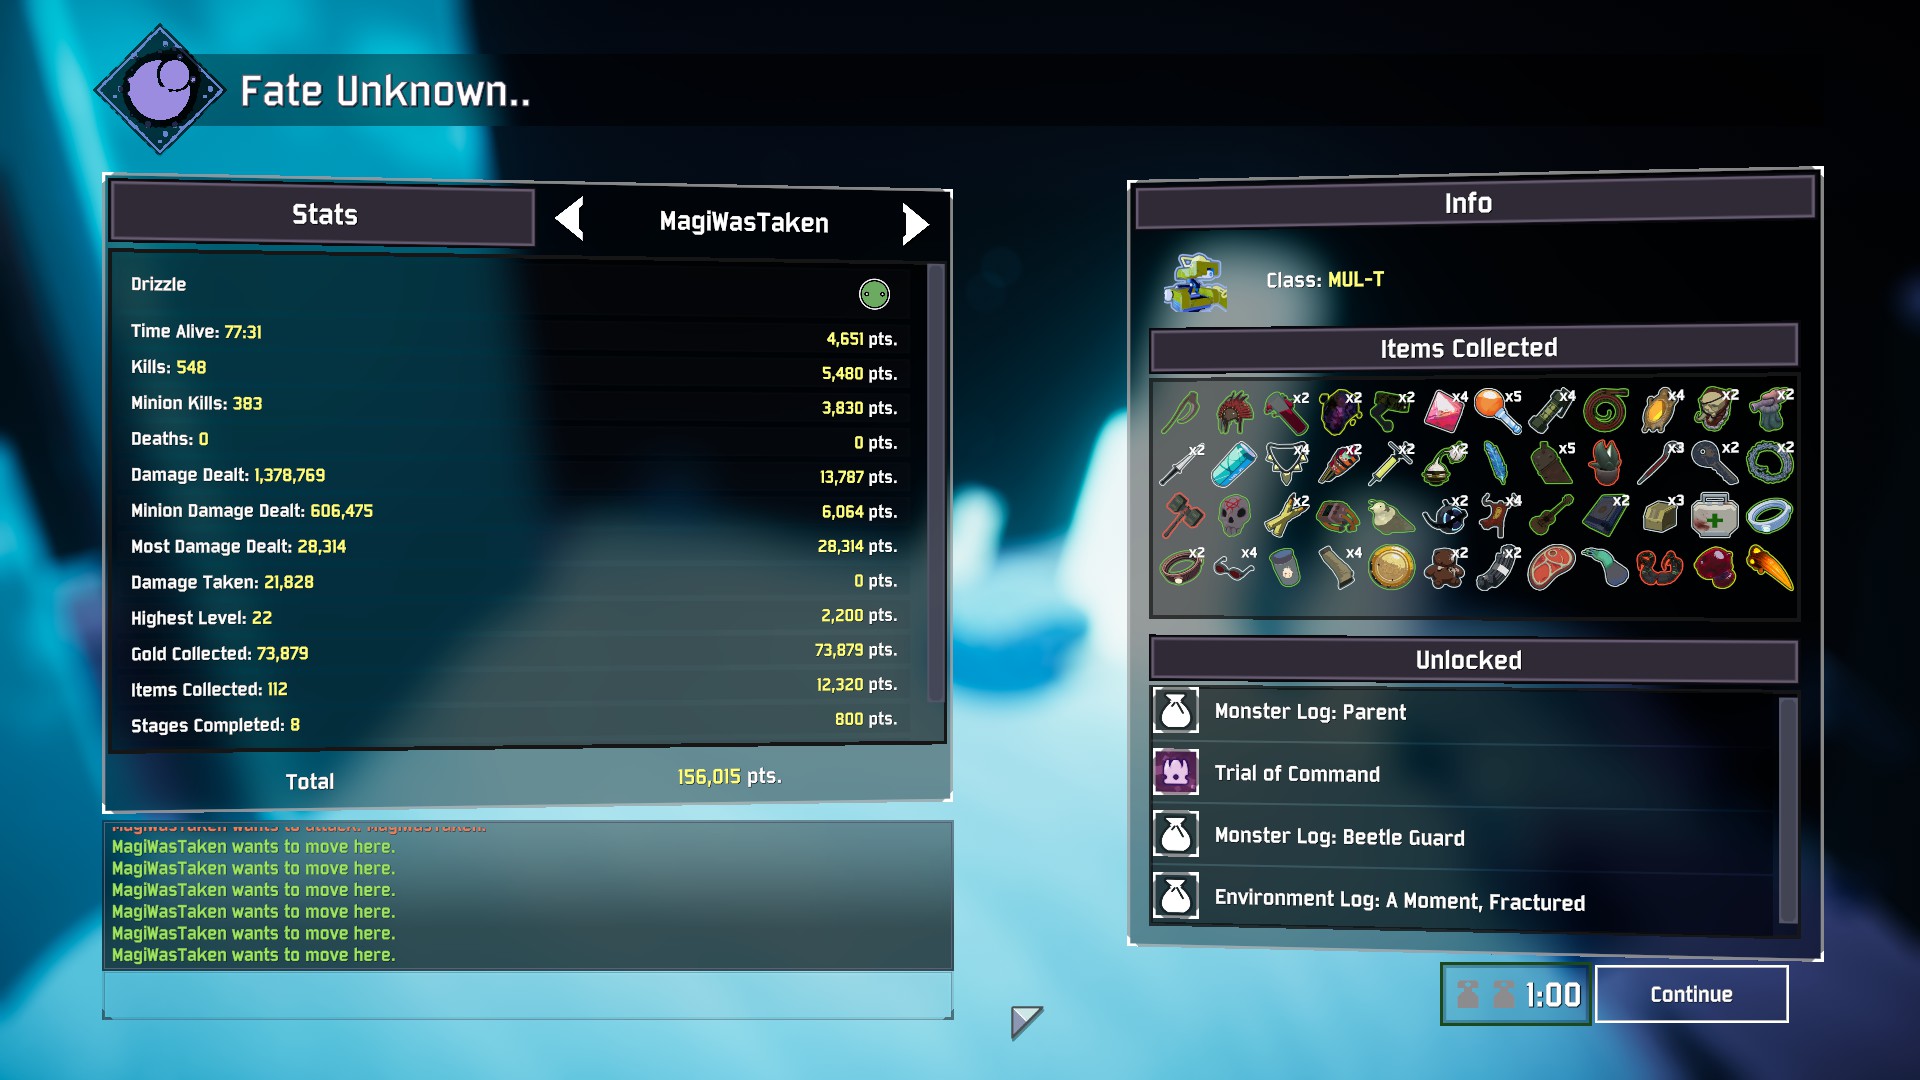
Bacon already had the Huntress unlocked, so I let him play that one while I opted into the Mul-T. Mul-T is able to dish out great damage and – when in doubt – solo-carry the game. Due to his two equipment slots, I was also able to let Bacon, at most times, switch between equipment to try out different things. Bacon really enjoyed playing with the Sawmerang, so I went for Gorag’s Opus in one of the slots to increase our attack speed by 100% while later going for the Preon Accumulator in the other slot to deal with lots of enemies at the same time if they were to swarm us or to deal a lot of damage to bosses if it’s an annoying boss.
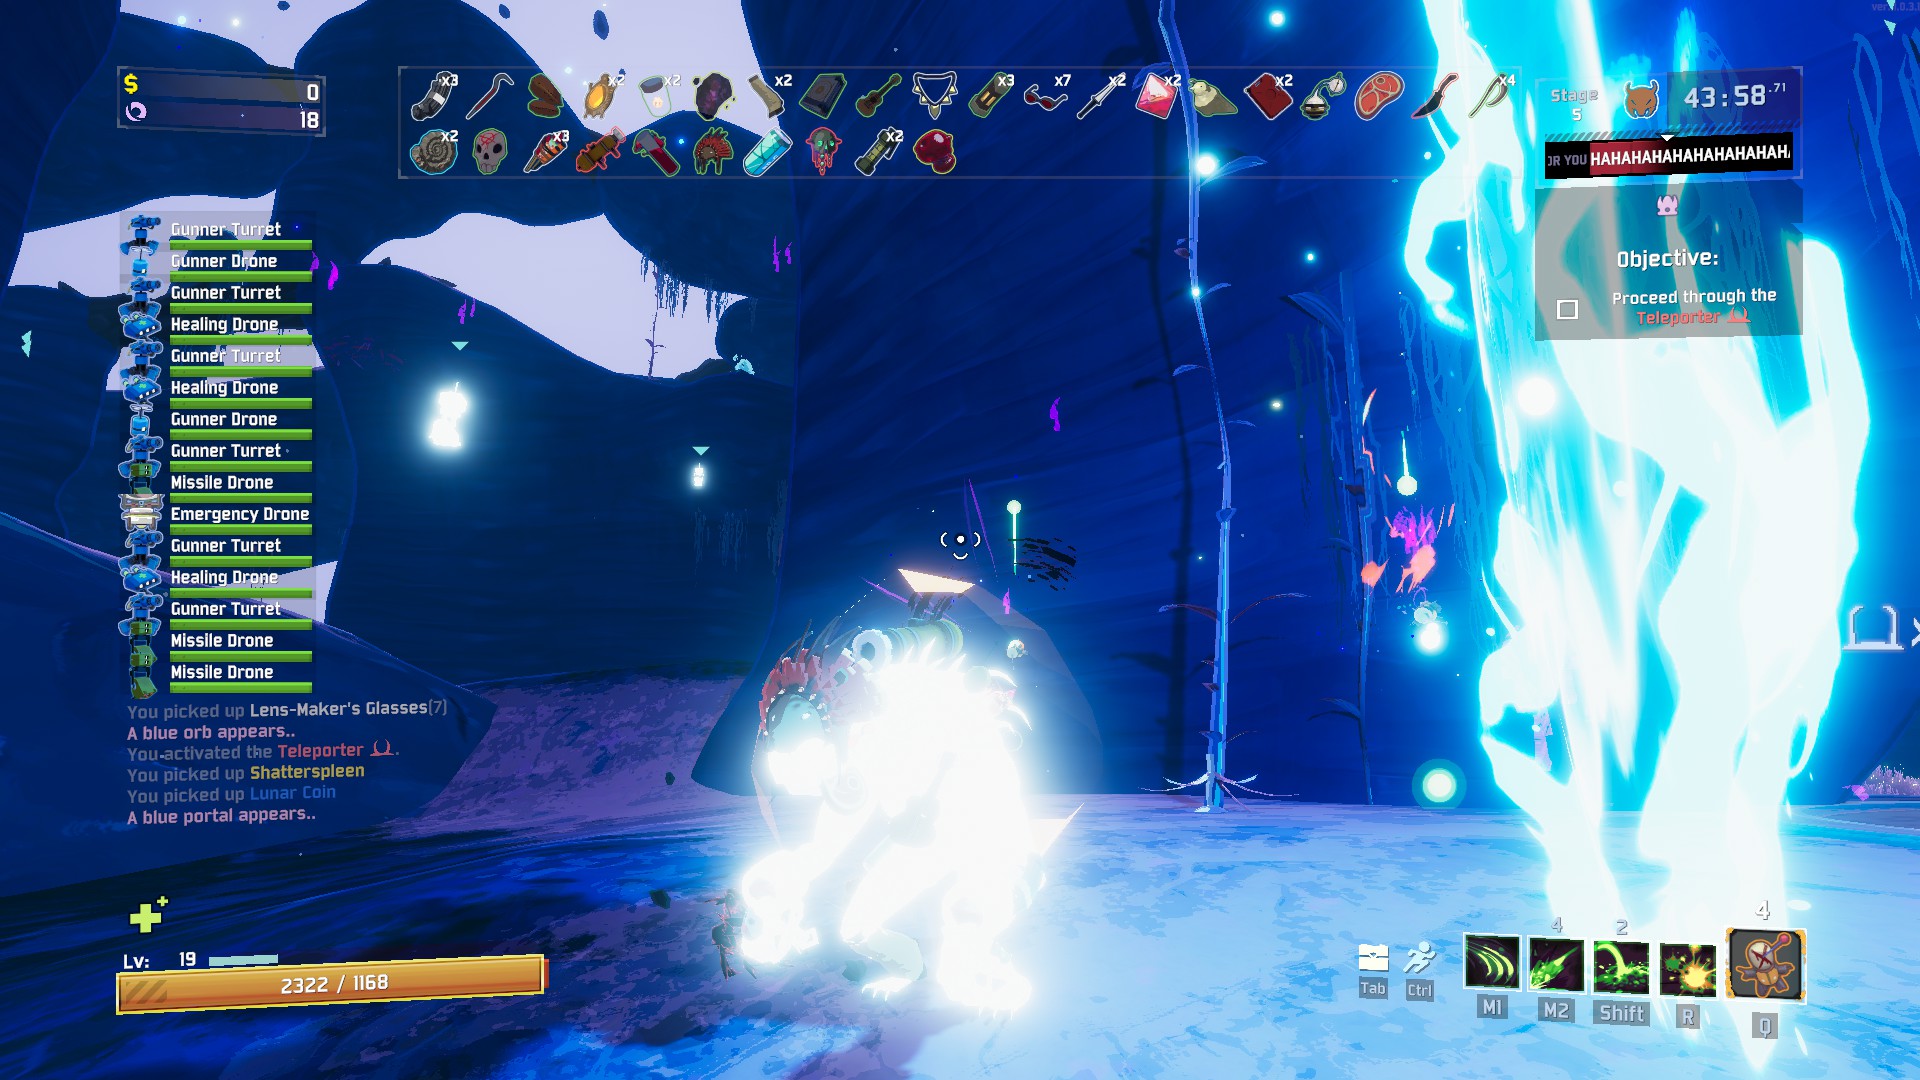
Due to some lucky RNG, we even got some early red items, resulting in me being able to explain to him what item categories there are: There are currently 97 items in the game on top of 30 equipment pieces. Equipment can be used to either dish out more damage or benefit you in some way to boost your damage, give you resistances or give you mobility. The other 97 items can be categorised into five categories: Common items (white), Uncommon items (green), Legendary items (red), Boss/Planetary items (yellow), and Lunar items (blue). Among the lunar items, there are four equipment items available as well.
White items tend to be flat-amounts of stats to your stats. The Soldier’s Syringe grants you 15% (+15% per stack) attack speed, for instance, while the Lens-Maker’s Glasses grant your attacks a 10% (+10% per stack) chance to critically strike, dealing double damage. A lot of these items don’t have an overwhelming effect but they are essential to your builds regardless. Since most of these don’t have an upper limit to the stacks, you can have as many Syringes or Goat Hoofs as you want to and actually feel the effects of them. The only exception to this would be the Crit-Glasses that only are doing something up to 100% crit chance. After that, getting more won’t do anything.
Green items include a lot of different effects that grant you slows for your attacks or on-kill/on-hit effects that you can proc. There are also other additions to it like a double jump with the Hopoo Feather or an extra charge for your equipment with the Fuel Cell. These items basically grant you a lot of different effects and finding out which items suit your characters the most can be part of the fun as well. Yellow items only drop from bosses and offer some nice perks as well, although some of them are more situational than others. The Molten Perforator has a 10% chance on-hit to call forth magma balls from an enemy, dealing a lot of damage, for instance, while other items offer stat increases or other ways of utilizing your build. If you get one early, you can shape your build around them but if you play with Command, you can usually get just the best one for your character.
Red items essentially round up your build a bit more. These are usually super strong and grant you a whole lot of great effects. Aegis for instance lets you gain a temporary barrier for 50% (+50% per stack) of the amount you heal past full health. Meanwhile, Brilliant Behemoth makes all your attacks explode for a 60% total damage bonus to nearby enemies in a 4m (+1.5m per stack) radius around the impact. If you use a lot of normal attacks that might be the best choice while the Alien Head might be better for survivors that use a lot of abilities. Generally, you want one anyways and any is better than none. Lunar items can also be quite strong but they often offer drawbacks to them. To acquire them, you’ll need to use Lunar coins on Lunar Pods or buy the items in the Bazar Between Time accessed through the blue portal.
With that out of the way, you’ll just head into the game. The best way to find out what the items do is to either pick them up and learn from the game teaching you or to ask a friend or check out the wiki.
Bacon struggled past stage 4 since he died earlier and was behind in terms of items. Alas, we decided to go for the boss and grab that additional item before heading to the Artefact place to unlock Command for him. When playing with a new player, I’d recommend searching for the command-artefact-code and unlocking it for them so that they can try out things themselves in Single-Player or with other players.
And alas, we unlocked that and some other logs for him before heading into the first-loop. Bacon was still struggling quite a bit, so we ended up rushing through the next two stages to venture into the Celestial Portal that leads us to “A Moment, Fractured”. Fighting the boss on the Moon would be too hard for a new player, especially with our items, which is why I decided to loop instead and go for that alternate ending. “A Moment, Fractured” features a monolith that can be used to obliterate yourself. Once you’ve done that, you finished your run and you’re awarded five lunar coins, kickstarting your journey to finding more and using them to unlock the artificer or to play around with some lunar builds.
Hope you enjoyed this post. I know, it’s a tad longer and not what I usually do but I thought I’d just explain something about the basics of the game, what items there are and the best choices to make. Bacon said that he enjoyed himself and that he learned a lot. If you want to, you can follow him on Twitch. We’re in the same stream team, “Mistakes”, and I’ve enjoyed playing with him lately, despite him being a bit helpless with Malachite enemies. It’s a lot of fun to play with others! The wiki for RoR2 is a great resource btw, so I’d recommend checking that out if you have any questions regarding the codes for the different artefacts or regarding the scaling, the items, the enemies, etc. – Just don’t spoil yourself too much if you want to. :)
Anyways, I’ll be off for the day. I hope you guys have a nice time and I’ll see you next time.
Cheers!
